Without a solid foundation,
you'll have trouble creating
anything of value
Hey dudes and dudettes, welcome back to another week of The Art of Caesura!
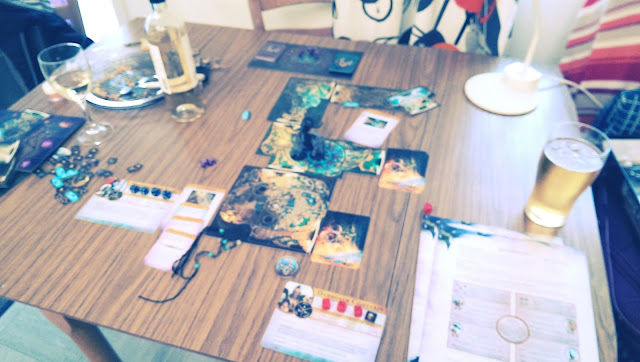
So I haven't had a chance to talk to you guys too much about Silver Tower. It's a blast! My fiance and I replayed the first task because we were in the small percentage of people who were affected by the "glitch" that was errataed within the first day of release (basically our first game ended sooner than it should have - but we'd still had a wildly good time). So we just restarted, but kept all our renown points.
By God, the second play-through was intense! We had three boss fights due to unexpected events happening. I almost died (twice!) but we managed to scrape through. I just can't emphasize enough that it's the most fun with a "board game" that I've had in years.
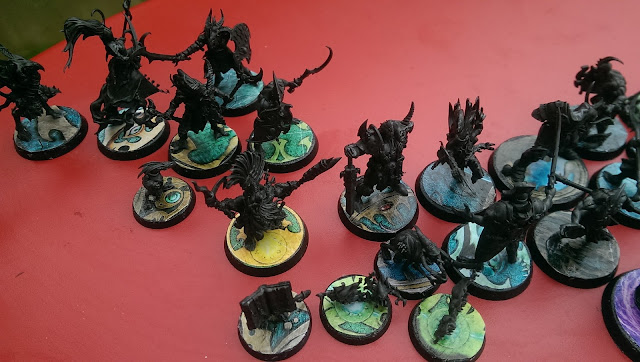
Today I want to talk about my bases. You may recall that I was pondering buying Secret Weapon bases for my Silver Tower dudes, but realized that it would have been a bit too ridiculously expensive. Then I considered doing something like the way GW do them but with blue gravel instead of grey.
Honestly I was getting lots of inspiration from The Grand Alliance forums (which I would highly recommend). I even considered clear bases, and made a very poor attempt at a press-mold...
but finally settled on something that's been doing the rounds.
 |
| This isn't my image, but demonstrates the technique well |
- Colour photocopied a bunch of the board tiles
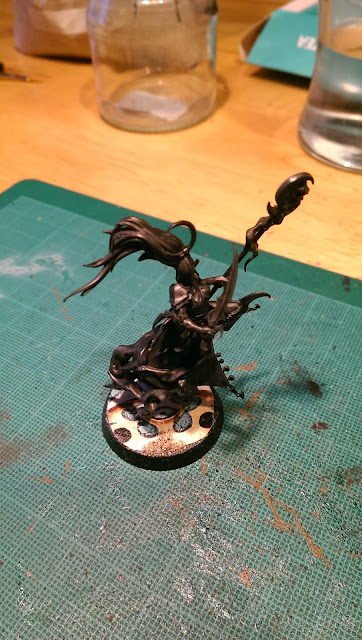
- Cut out specific parts of the images that will work well for specific models (I used the "vortex" for the Gaunt Summoner, and the gross egg sacs for the Scuttling Grots for example
- Using vinyl glue, stick the paper to the bases
- Cover the whole paper with more vinyl glue to seal it in
- Allow to dry
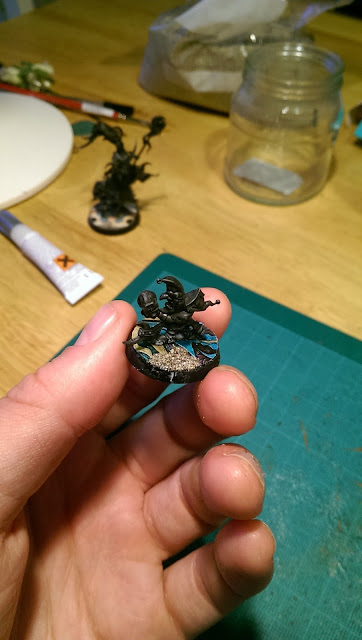
- I affixed the miniature at this point (so that I didn't put sand where their feet would attach, but you could do this at the end if you prefer).
- Cover patches with PVA glue and dip them in sand (from the beach)
- Cover the sandy patches in more PVA glue to seal them
- Allow to dry
- Paint sandy patches (I'm painting half of the patch blue and the other half purple and then alternating the ink (purple ink (druchii violet) on the blue parts and blue ink (drakenhof nightshade) on the purple. Then give a very light drybrush of ushabti bone over the whole sandy bit for highlights.
I've done this with all 51 bases (but had already made the mistake of gluing all the models to their blank bases, so had to pop them all off again! Then re-stick them with super glue). Though on further reflection, this probably wasn't such a bad thing because I could undercoat them without having to mask the bases.
I'm not going to lie, it was pretty time intensive but cheap (photocopying, glue, brushes, was all under 12 euro).
Next I just need to paint the sand a nice grey-blue. I even managed to undercoat all 51 models BY HAND!! Busy week. I'm really looking forward to laying down some real paint this weekend.
Here's an example (from the distant future) of a completed base:
Thanks for tuning in and I'll see you next week!
Listening: Phantom of the Opera - Iron Maiden
Reading: The Dresden Files: Summer Knight - Jim Butcher
Drinking: Scarlet Pimpernell IPA - Killarney Brewery
Next Week:
We'll have a grand unbottling of the Night Watchman Porter that I've been brewing over the past bunch of weeks.









Comments
Post a Comment
Tell me all...