First listen, my friend,
And then you may shriek and bluster.
- Aristophanes
Welcome back, one and all, to another Friday on The Art of Caesura!
Last week we celebrated the FIFTH BIRTHDAY of the blog - five years of posts every single Friday! If you didn't get a chance to attend, why not hop back and re-live the celebrations?
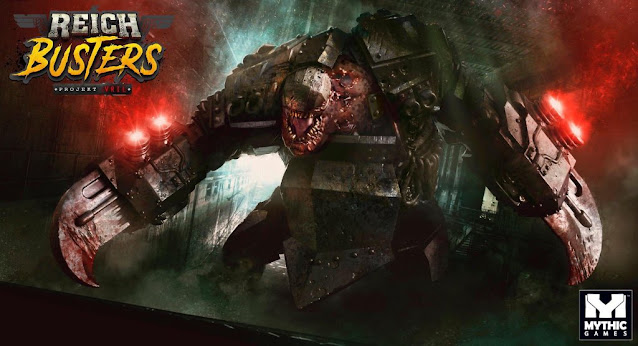
I mentioned in that post that I always paint my biggest model of the year as a birthday present to the blog, and we caught a glimpse of what that model was: Reichbuster's Shrieker!
If you're wondering what excites me about Reichbusters, you can check out this post. Today we're going to look more closely at the painting process and next week we'll gaze at pretty pictures of the finished product. This is a huge model, and I was uncharacteristically good at taking work-in-progress pictures, so let's dive right in!
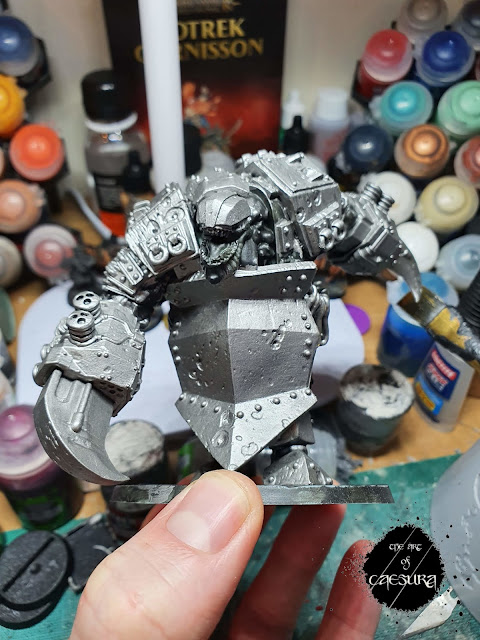
I started by cleaning up this big bruiser: cutting off the (very minimal) mould lines and extra rivet that looked a bit silly overlying a bullet hole on the bottom row of his abdominal plate (just left of the midline in the photo above), and giving him a scrub a dub dub in soapy water to remove any mould-release).
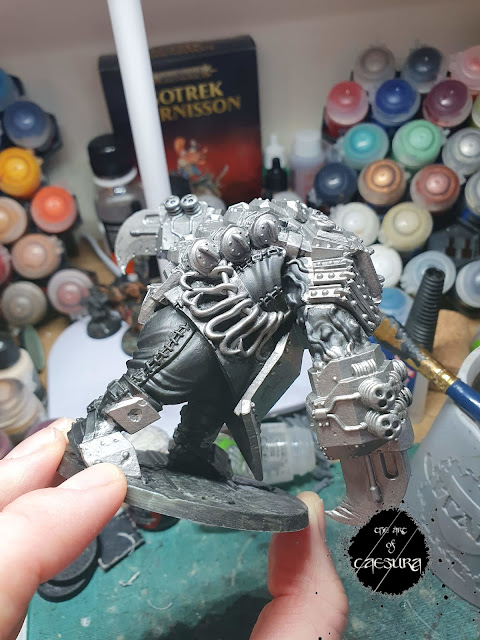
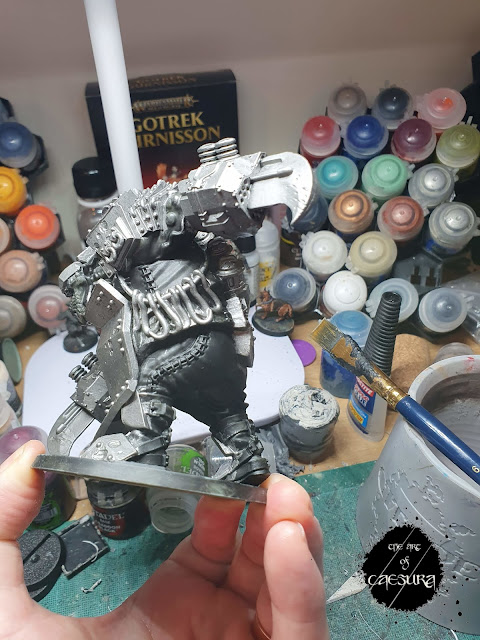
Had the temperatures outside permitted, I would have primed him with black spray and then Leadbelcher spray, but it was actually quite chilly in Ireland (we even got snow!) so I just got out my big brush and went to town doing it by hand. I wasn't too precious about keeping the Leadbelcher to the areas that would be metal, if there was a bit of over-brush, no problem! I'd be hitting up the other areas later.
Next came the fun part!
I've been really enamoured with the "Grimdark" style of painting for a long time - I'll go more into this in a minute - but I just never took the plunge. So I set myself a goal for Reichbusters, that I was going to really dig into this style. This goal came partly from feeling that these models would REALLY suit the style (with their heavy, damaged armour and gribbly bits) but also because I'd love to actually finish painting a whole Kickstarter game and this style can speed things up for you - if you let it.
Before I go too much farther, I just want to put a pin in this - I'm going to do a whole post dedicated to painting in this style at a later date (when I have more experience with it), so don't worry if some of these next steps feel a bit "different" to what you're used to or what I've discussed on the blog before, just let it wash over you for now. But I do want to layout some of the goals or philosophies of this style:
- It emphasizes textures.
- It favours gritty realism over pristine blends / edge highlights.
- It typically uses dark, oppressive palettes juxtaposed against a bright spot colour.
- As a style it can be accomplished however you want, but commonly used techniques are: reductive painting involving oil / enamel washes and then taking the paint off areas with spirits.
If this is interesting to you, check out The Grimdark Compendium - that's my main resource for this style. Like I said I will write a dedicated post about this style and some of the techniques involved at a later date.
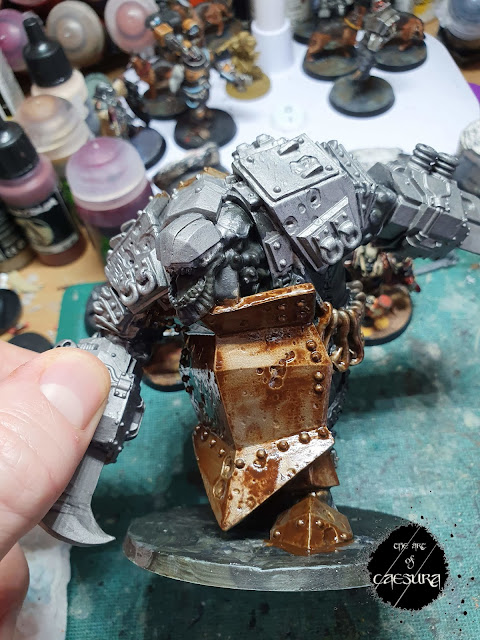
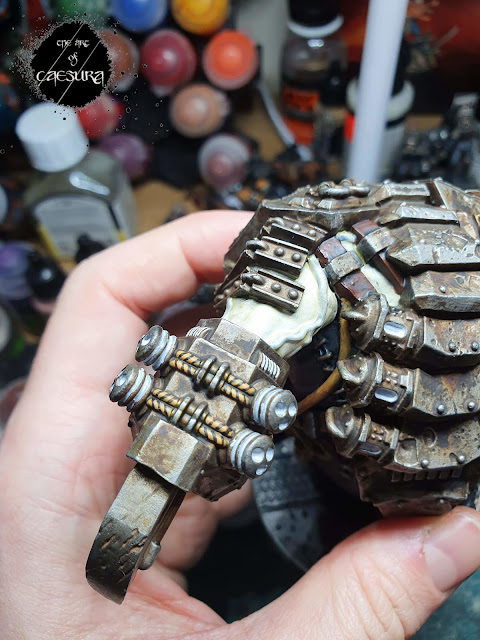
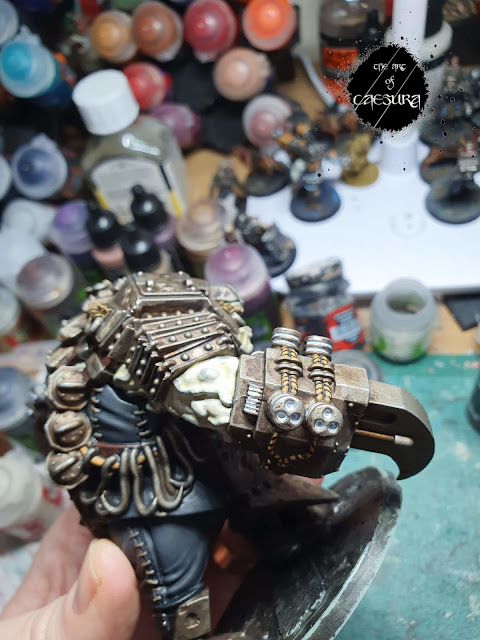
After a quick varnish of Stormshield (and letting this dry overnight) I messily painted Streaking Grime over all the metal bits. Streaking Grime is like the Agrax Earthshade of Grimdark!
Once this was dry, I built in more depth by messily stippling on a Dark Brown enamel wash all over the place.
For this step, I avoided his blade arms because I knew I wanted them to be a bit lighter and less weathered than his armour plating.
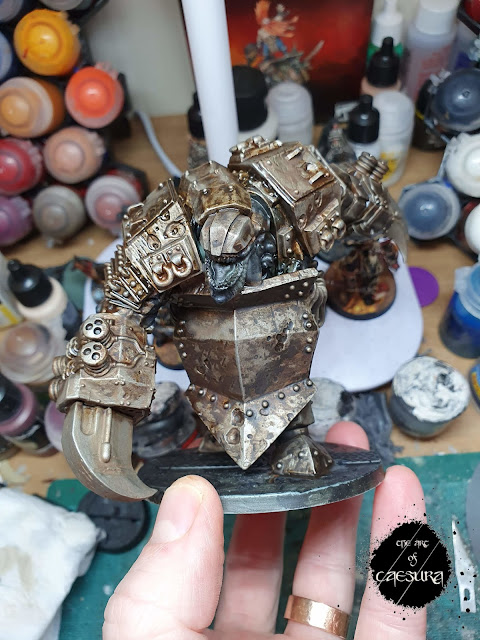
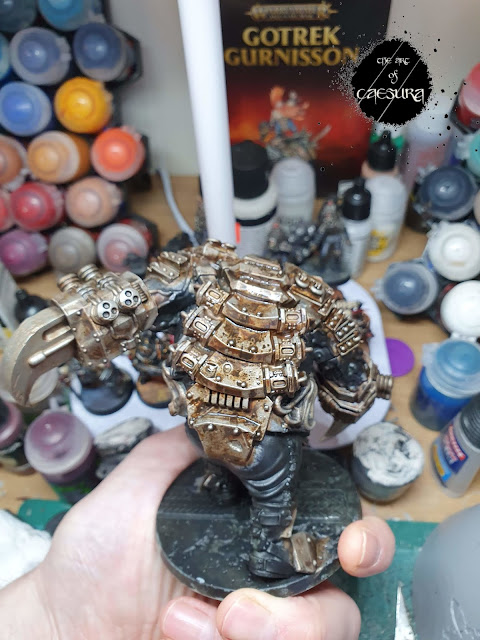
Finally, the "reductive" step. I dipped q-tips in white (mineral) spirits and, using a dabbing and "rolling" motion, started stripping the enamel washes off irregular areas of the metal - mostly along raised surfaces.
Like everything in art, how far you go with this is up to you. I wanted to keep his armour very dark and grimy because I knew I wanted to paint his skin very pale, so I wanted a good contrast. You could just as easily paint the metal a much lighter silver (Stormhost Silver or the like) and then strip much more of the enamels off for a brighter weathered look.
To finish his armour, I used a fine detail brush to edge highlight (more like stippling along the edge) with Stormhost Silver.
I then painted his undersuit a 1:1 mix of Mechanicus Standard Grey and Abaddon Black. I was much more careful with this step trying not to get any on the silver areas I'd just painted while still maintaining speed. I gave the undersuit a wash of 1:1 Contrast Black Templar : Contrast Medium. I think the smooth fabric makes a nice textural contrast to the rough weathered metal.
Then the skin!
From a base of Wraith Bone I applied a 4:1 mix of Lahmian Medium : Athonian Camoshade for that nice unheimlich pallor. before highlighting back with Wraith Bone. I really like how the veins turned out and they were very simple with 4:1 Lahmian (not contrast) Medium : Contrast Space Wolves Grey (I wanted the paint to be more translucent but didn't want it to be too runny), I'll have to remember that one!
On to the details!
As a big Necromunda fan, I knew I wanted to paint the piping with the yellow (Averland Sunset) and black hazard stripes. I kind of bit off more than I was expecting to chew, because I hadn't really considered that each bit of piping was a pair which meant 12 bits of piping per arm! It actually wasn't as difficult as I expected, and if I do say so myself, I think it looks great; nice and industrial!
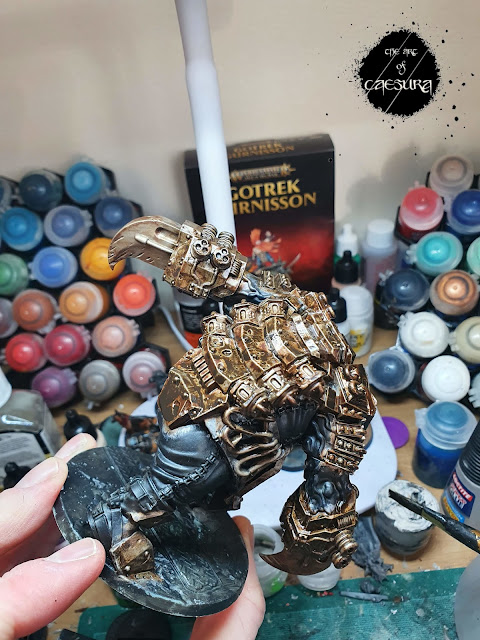
I then painted the brass bits simply with Contrast Snakebite Leather over the weathered metal. DO NOT try to use spirits to take weathering off contrast paints without varnishing first - the contrast paints will come straight off.
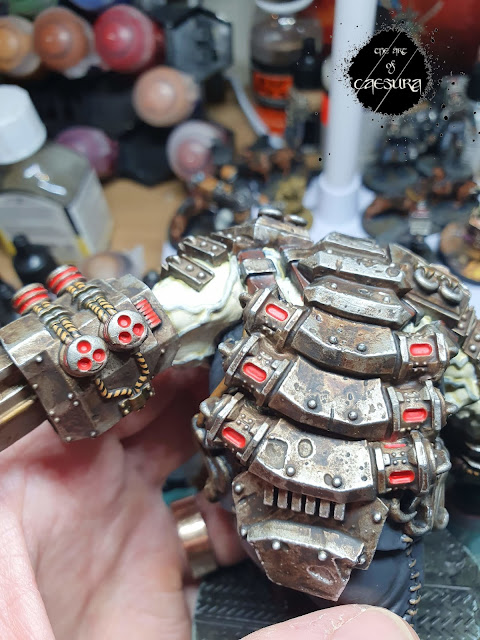
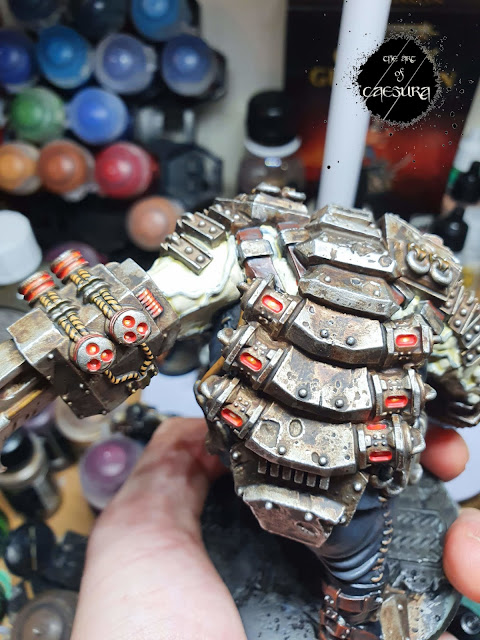
After the tubing and brass, the next details were the all the Vril McGuffins. Similar to the aether-bobbins on my Kharadron Overlords, I wanted to use the Vril effect as a unifying detail across the models in this game.
I started by painting the areas that will be bursting with Vril energy, White Scar. I was careful to paint the indented edges of the recessed areas too, to show the glow of the Vril. In subsequent models I just start by painting them (Yriel) yellow and this seems to work fine too.
Here we're looking at the Vril energy powering his arms.
From a white base I glazed in Evil Sunz Scarlet thinned with Contrast Medium (because I wanted it to flow into the crevices).
I then glazed in Troll Slayer Orange and Yriel Yellow towards the centre with a dot of white to finish it off. I have since changed how I do my Vril effects: starting from yellow glazing Troll Slayer and then Evil Sunz around the edges while trying to keep the centre yellow then touching up the yellow and white at the end. Which ever way works better for you - they both end up looking pretty much the same.
And finally, on to the base!
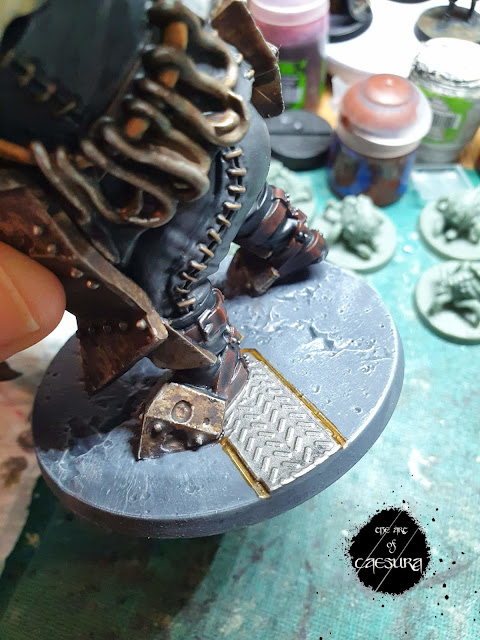
The concrete started as Mechanicus Standard Grey and metal, Leadbelcher.
For a bit of interest, I painted the rim of the metal with Contrast Snakebite Leather.
I then drybrushed all the concrete with Grey Seer.
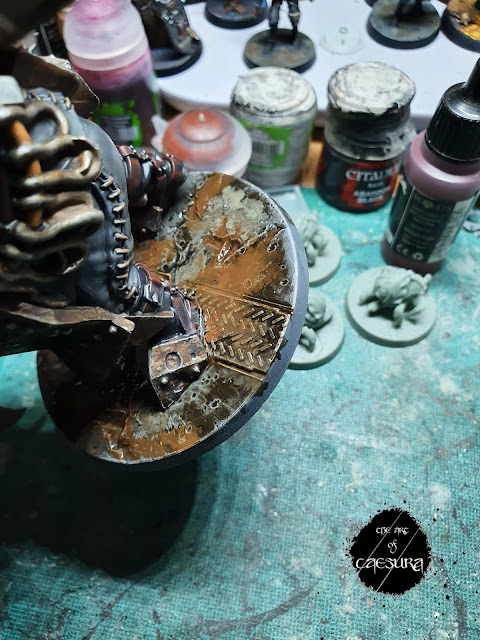
Then I just splodged on loads of Streaking Grime, Rust Streaks, Corroded Deposits and Dark Brown enamel washes.
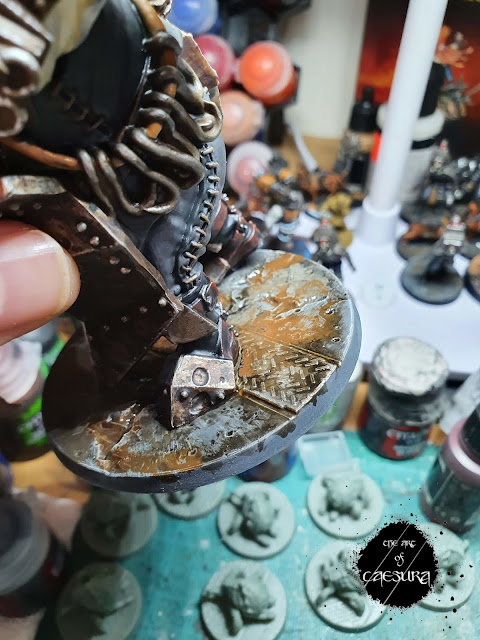
...before taking them off a bit with white spirit.
Look how nice and colourfully grubby it all turned out! All that was left was the black rim and this big guy was done! Tune in next week to see the completed model right here on The Art of Caesura!
Watching: Parasite - Bong Joon Ho
Listening: Clear in the Eye - Ocie Elliot
Reading: Sum: Forty Tales from the Afterlives - David Eagleman
Next Week:
Finished Shrieking?













Comments
Post a Comment
Tell me all...