In ancient times,
men built wonders,
laid claim to the stars
and sought to better themselves
for the good of all.
But we are much wiser now.
Speculations on Pre-Imperial History - Lexicanum
Salutations friendly people and welcome back to the Art of Caesura!
We're going to take a brief interlude from our Conan coverage to bring you something slightly topical for a change.
Today's post is inspired by the release of the new Mechanicus codex for 40K tomorrow and by this Bell of Lost Souls article. I'm also going to give something of a tutorial on pinning for those interested.
Back when Inquisitor was still a thing (My God, imagine if they brought that back in 54mm scale plastic!) I bought a few packs, stared at them lovingly for years, and then moved to a different country. A lot of my old miniatures have recently re-emerged as my dad clears out the basement. One such figure was Faramir and another is the topic today and next week's post...
Super exciting! It was like going back in time!
Building big metal Inquisitor models turned out to be kind of a big job, so this week I'm just going to talk about his construction and making a cool scenic base for him. Next week we'll see the finished product!
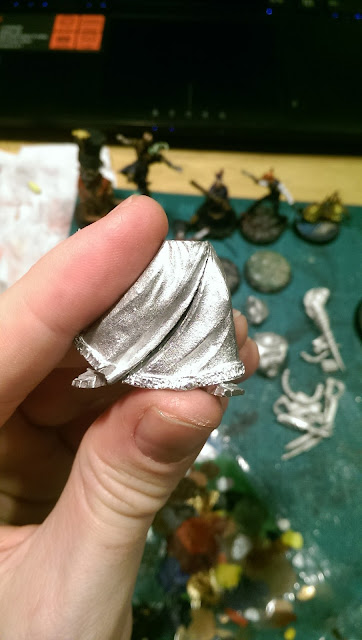
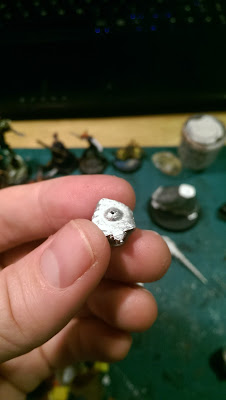
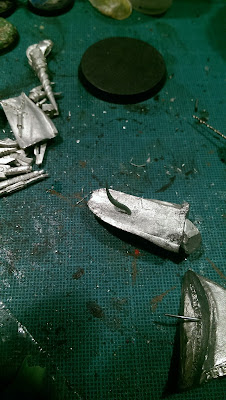
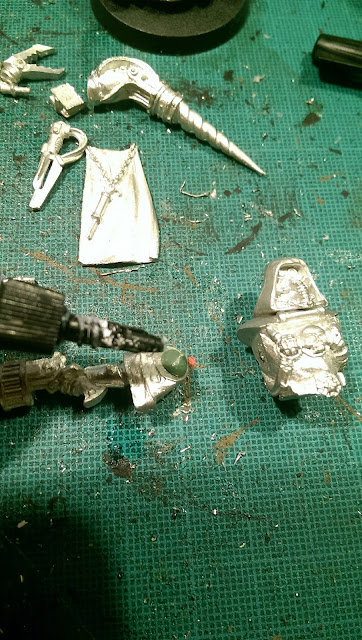
The above pic shows what we're aiming for with his lower body, but unfortunately, as you'll see in the pics below, there are no proper contact points, and in fact, the inside of each half of his lower body is concave, making them even more difficult to attach. Call in the pins!
I'm going to use this post to give an introduction to pinning, so for those of you familiar with the concept feel free to skip ahead and just look at the shiny pictures. For those for whom pinning is a new or scary concept, read on! If you're more of an auditory learner, check out the "Hobby Night in Canada" podcast #72.
Pinning is where you drill a hole in each side of adjoining pieces of a model and insert a "pin" (usually a piece of paperclip) to strengthen the join and hold the whole thing together. You may recall me using it for my Orruk Wyvern. We don't need to pin as much anymore because many modern minis are made out of light-weight plastic or resin. It's a handy and easy skill to have though, and one that crops up still.
What you'll need:
- A pin vice / Hand drill: (like everything in our hobby you can spend as much or as little as you want on these) Mine is very basic: something like this, that I spent $10 CAD on 15 years ago, oiled once last year and I've never had an issue with it.
- Drill bits: I used to have more, but only use 2 now: 0.95mm for pinning and drilling out boltgun barrels, and 3mm for magnetizing. As a note, even the cheapest pin vices come with multiple collets (AKA chucks) (the part that holds the drill bit in place) to accommodate different sizes of drill bit. If you can't find yours, it might be in the handle of your pin vice. Some have one chuck that can accommodate a large range of drill bits.
- Paper clips: Just be careful as they come in different thicknesses. The plain "smaller" ones (without the colourful plastic coating) are the ones that fit for me. Larger paper clips are too thick for my drill bit.
- Wire-cutter: Please don't try to use scissors. I use my guitar string-cutter.

General Pinning tips:
We'll go into more detail below with the corresponding pictures, but here's a general list:
- Mark your site
- Make a guide hole
- Use gravity, not force!
- Lube
- Drill at right-angles
- Use green stuff AND glue
Make a guide hole
Use the cutoff edge of the paperclip to put a small divot in the piece of the mini where you want to drill. This will guide the drill bit, preventing it from slipping away from where you want to drill.
Mark your site
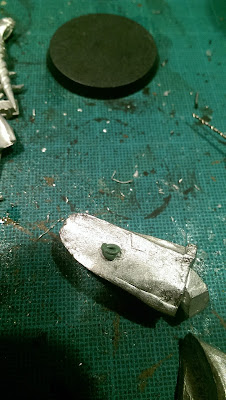
Here's a neat trick. Put a big blob of paint in the divot you've just made. Dry-fit (i.e. hold) the two pieces together so that some of the paint transfers over to the other piece so you know exactly where to put the divot and hole in the other piece.
Use gravity, not force!
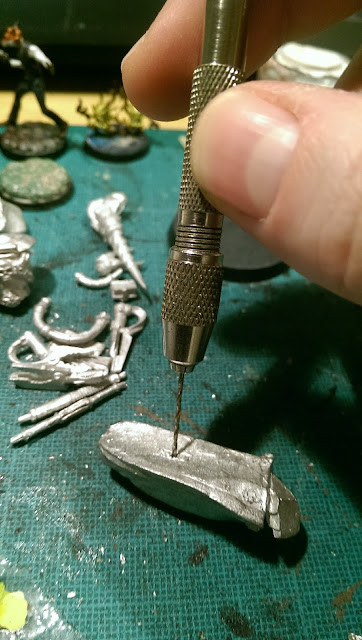
I would recommend orienting whatever you're drilling so that you're holding the pin vice vertically (with your index finger on top and your middle finger and thumb spinning the tool) and just using the weight of the pin vice (with very gentle pressure if needed) i.e. you're not trying to really push it through. Use more rotations instead of more force or you'll just end up snapping these drill bits.
Lube
If you're finding it difficult to drill, or the drill bit is heating up, there's probably too much friction. Dip the end of the drill bit in water to lubricate it (some people lick it or use a bit of oil, but I find water works fine) and carry on.
Drill at right-angles
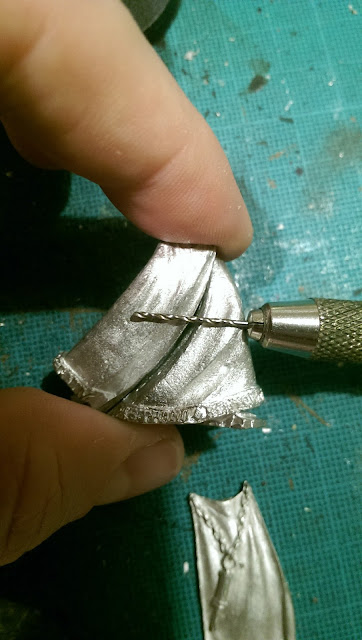
This will provide the best strength. Also measure the depth of your hole (by holding the drill bit as deep in the hole you're drilling as it will go, and put your thumbnail on the drill bit against the model. When you withdraw the drill bit (with your thumbnail still on it) you can see how deep your hole is).
Use green stuff AND glue
If you're going to the trouble of pinning something, you're going to want it to stay stuck. I use green stuff (roll it up and jam it into the hole you've just drilled, or stick it like an arrowhead on the tip of the paperclip you're going to insert) AND use superglue as well.
TA DA!! The only other thing I've done in the picture above is fill in the gap with more green stuff.
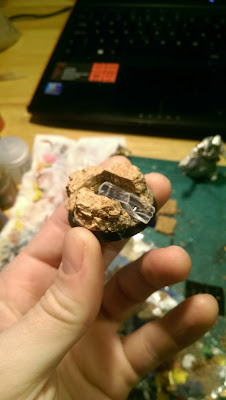
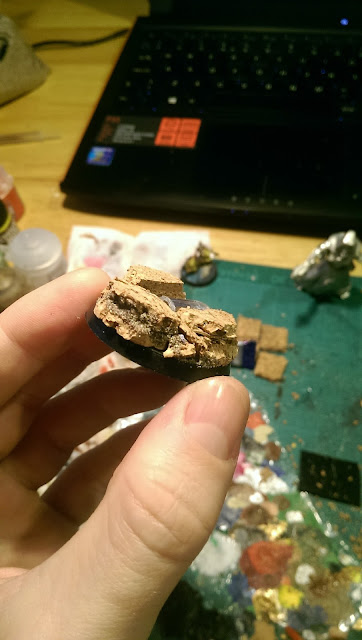
I added sand to various parts of the base for a bit of texture delight.
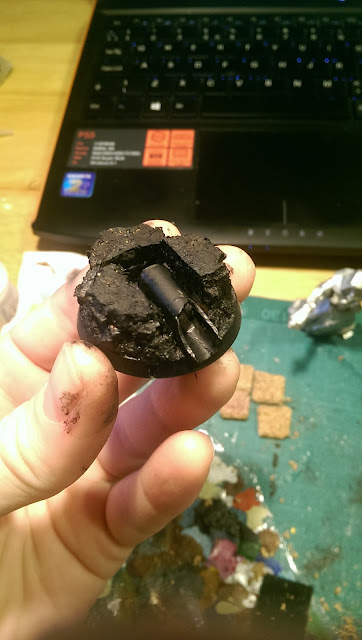
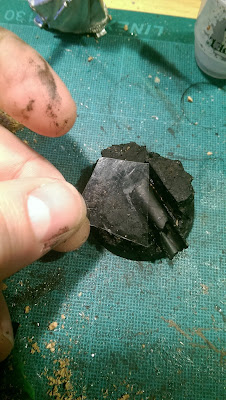
I used a bit of the plastic case his pieces came in to provide a firm foundation for the pieces of cork that he would be standing on.
And Lo! The finished base. Now all we need is some paint...
If you have any questions, or would like clarification on anything to do with pinning OR if you do it differently please get in touch in the comments below! Otherwise, tune in next time on The Art of Caesura!
Listening: Just came back from a concert of Rushad Eggleston and Cormac Begley
Reading: Superintelligence - Nick Bostrom
Next Week:
The colours of the Mechanicus...












Comments
Post a Comment
Tell me all...