The guile of those who hail from the City of Shadow
is legendary among the Kharadron Overlords.
Tales abound of their use of optics that alter
the colour of their ships, and of surprise attacks
launched suddenly by their fleets from the blackest of clouds.
- Games Workshop
Ahoy-hoy! Join The Company for our continued adventures on The Art of Caesura!
You may recall that we left our intrepid sky-dwarves all undercoated and shaded, today we'll lighten things up and finish things off.
The next bit was fun: the "special effects", all of their eyes, lenses and aether-bits! To be honest, I probably could have done this after the highlighting stage, but after painting metal and armour panels for a week, I just wanted to mix things up for myself.
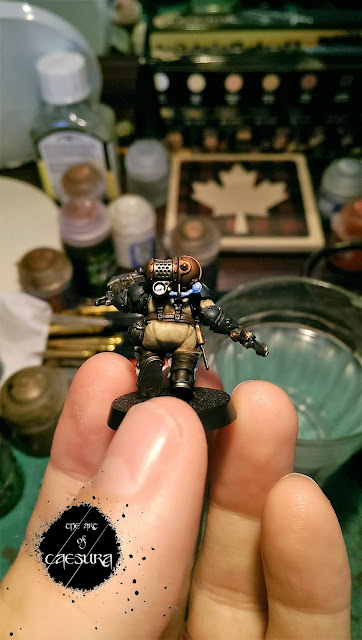
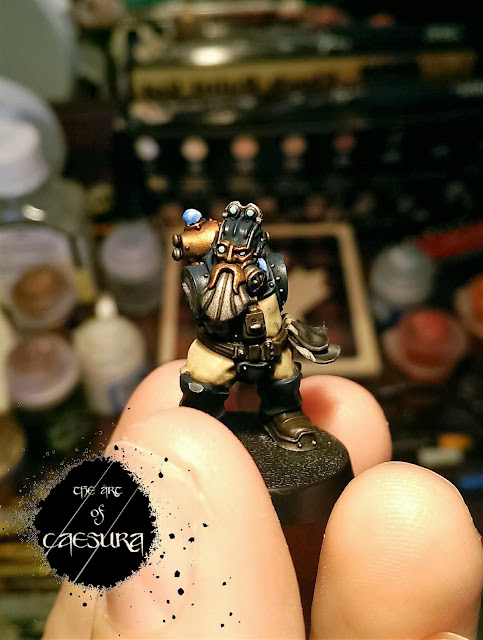
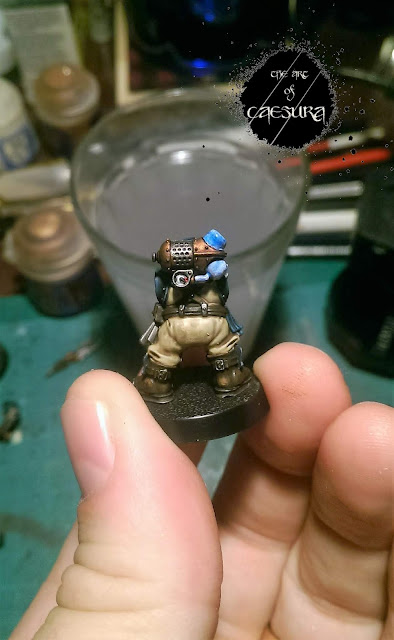
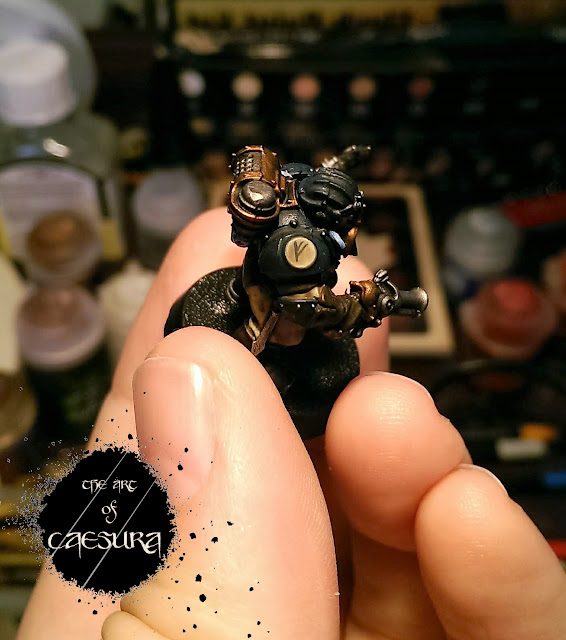
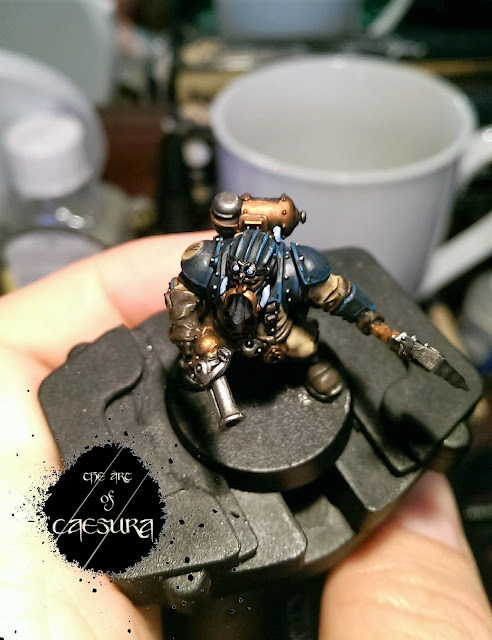
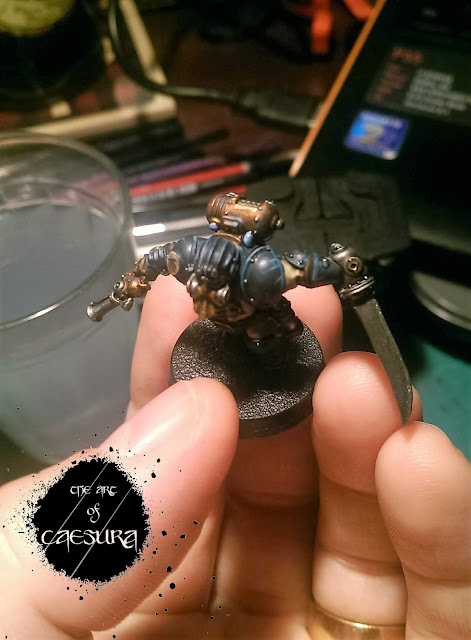
I started by using white to undercoat all of their eyes and bits that I wanted to look mystical and aether-infused (baubles on their armour, the inverted dome and tubing going into the pressure gauge on the base of their backpack, tubing on their masks, and a small tube connecting each backpack to the suit (over each of their left shoulder).
Once they were all white, I painted the technical paint Soulstone Blue in thin amounts to give a swirly magical effect. You have to be a little careful with this paint to not show brushstrokes. The best way I found to do it was to put quite a bit on your brush and only using the dollop on the end of your brush to "paint" it on, not really letting the brush's bristles touch the model. I went with the blue to contrast the copper and complement the armour, but also to invoke the idea that these guys are infused with the swirling cloudy skies that they sail through. It ended up looking quite striking - which I'm okay with, it's nice to have the magical elements stand out on otherwise somewhat muted models.
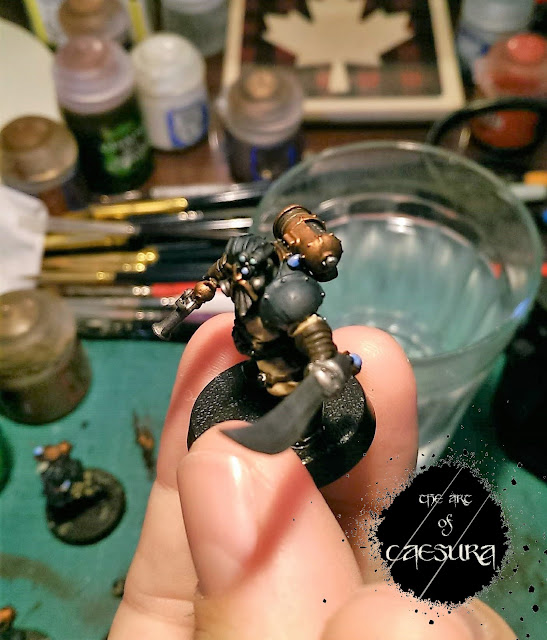 |
| There's the little connector tube I'm talking about over his shoulder. |
 |
| It proved tricky enough to get a photo of the different lens colours, you'll have to trust me! |
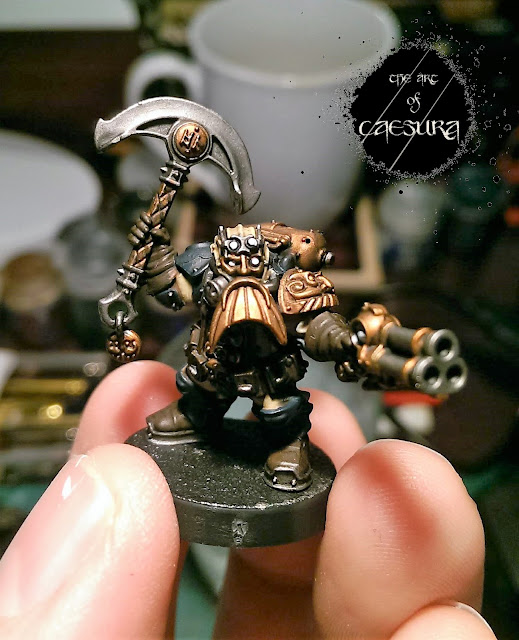
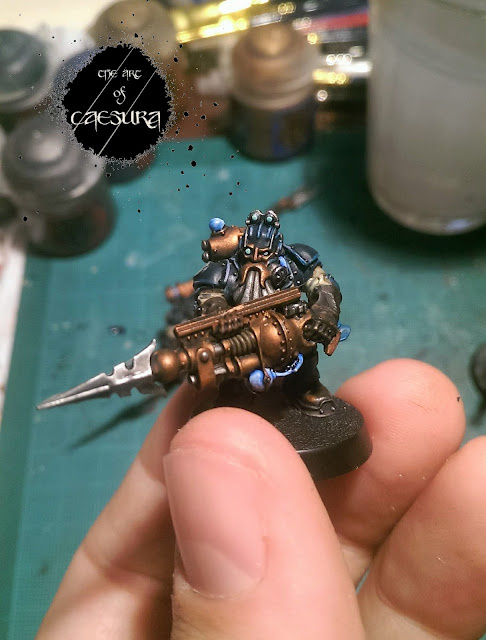
Next came the pressure gauges (they all have them on their backpacks and one of the bodies has one hanging from his belt, while the Captain has another on the triple-barreled volley pistol). I thought it was going to be tricky to paint the red "danger zone" on these gauges (which one of the backpacks is exceeding as you can see below!) but this is actually a depressed detail, so if you thin your paints (Mephiston Red) it'll flow right in - minimal clean-up needed. These really are remarkable models!
To finish the details, I painted the emblems on their right shoulders. I painted the flat surface Ushabti Bone, and then painted the little symbol with Stegadon Scale Green before washing the lot with Agrax. I just made the symbol up myself, I probably subliminally stole it from somewhere, but in the moment I was just thinking "what would be an easy little bit of freehand to do here?" and Bob's your uncle!
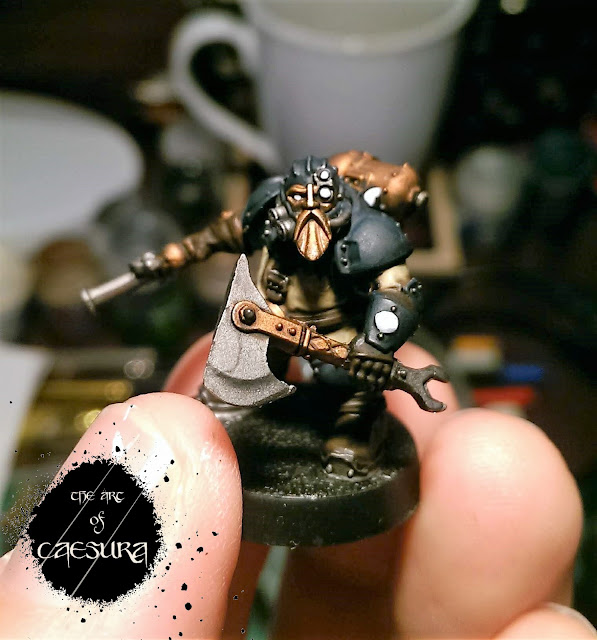
With the details complete, I went back to highlight the armour. I edge highlighted with Sotek Green and then with a mix of The Fang + White Scar (I didn't have any Fenrisian Grey) on the most prominent surfaces.
 |
| We're looking at the highlights on the wrist here, don't gaze into the swirling orb... |
I followed the armour highlights by highlighting all of the leather with a mix of Doombull Brown and Steel Legion Drab (to pull some of the red out of the Doombull, desaturating it a little), with a final highlight of Skrag Brown.
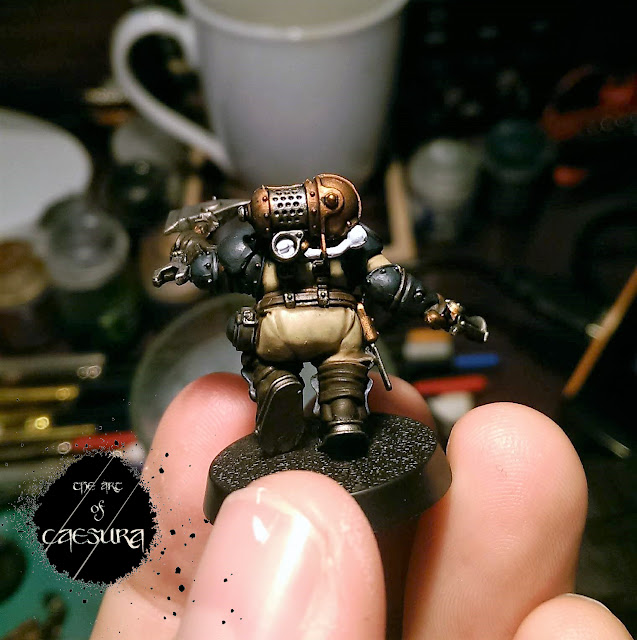
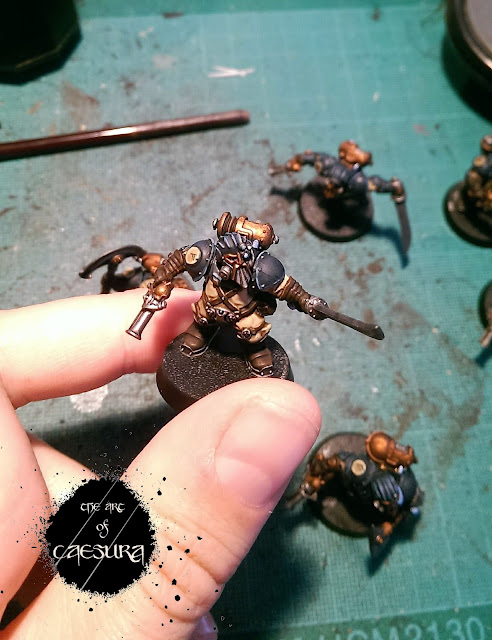
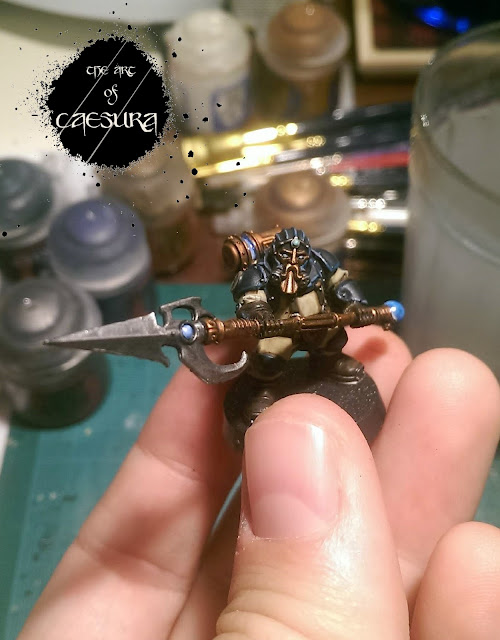
On to highlighting the metal: the Screaming Bell received a Hashut Copper highlight, and I just couldn't bring my self to then work up to Stormhost Sliver. I'm not a huge fan of highlighting non-silver tones with silvers. I know it really makes them "pop", but I think you lose some of the richness of the copper. So I left those at Hashut Copper, but worked the silver (steel) bits up through Leadbelcher and then Stormhost Silver. And at this point I finally attached the arms to the special weapons guys.
After highlighting the metal, it was on to the weathering. I think, like me, a lot of painters approach weather with a bit of trepidation. I love the look of it and think it really heightens the immersion, but at the same time, you have a basically finished model in front of you, that you're about to bugger up with dings and scratches. I have to keep telling myself: less is more!
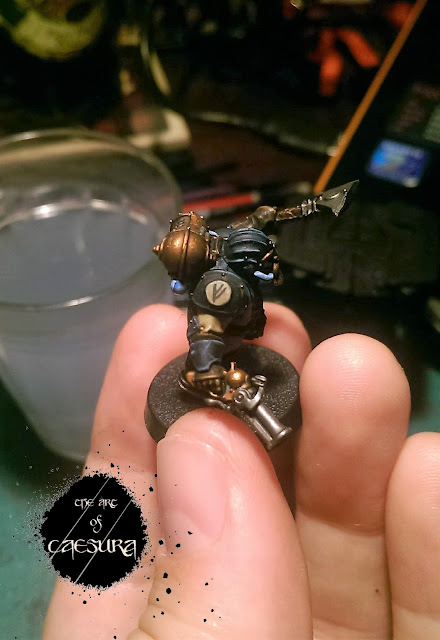 |
| Just showing off some dings on his gauntlet |
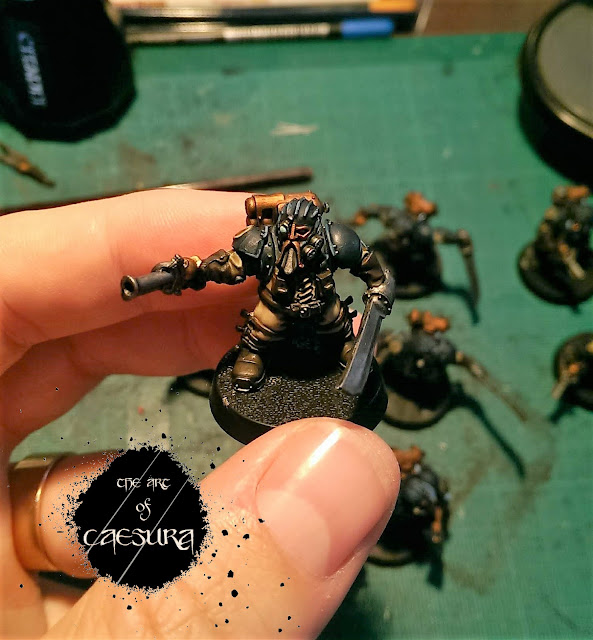
I like doing verdigris, but find Nihilek Oxide a bit vibrant at times, so the new Nighthaunt Gloom really did the trick. I dripped this around the copper bits (mostly on the back-packs and a bit on the gun. I imagined that some kind of ionization reaction is occurring in the backpacks, causing them to corrode faster. Skrag Brown was next, and I dripped this around many of the rivets to look like rust (which you can see in the images above). Finally I used the same colours that I had used to highlight the blue armour to add dings and scratches. I focused these on their armoured gauntlets, and gave more to the guy with the sky-pike as he would be spending more time in close combat.
With the weathering complete, so is this article for today. Join me next week for some basing action right here on The Art of Caesura!
Watching: Dark Matter
Listening: Legends of the Painty Men (podcast)
Next Week:
Beside the seaside...

















Comments
Post a Comment
Tell me all...