When the lambs is lost in the mountain, he said. They is cry.
Sometime come the mother. Sometime the wolf.
Sometime come the mother. Sometime the wolf.
Blood Meridian, or the Evening Redness in the West - Cormac McCarthy
Happy Friday on The Art of Caesura!
Greetings sports fans, apologies for the interruption to our regularly scheduled content last week when the be-tentacled Hellmouth exploded onto the scene. But we've had a chance to clean up the mess from the pitch...and speaking of the pitch, lets take a closer look at it today!
Today is the next in a series of tutorials about miniature bases. I previously showed you how I made my Silver Tower bases and we'll soon be looking at other exciting basing methods.
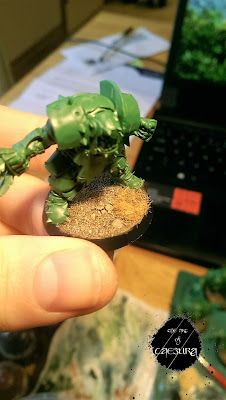
Today we're going to look at a basing style that is more down to earth, it's my go-to technique for my Orruks / Ironjawz and Conan miniatures, but I've demonstrated it here on my Bloodbowl Orcs.
This process is very easy and costs next to nothing but takes a bit of time (while waiting for stages to dry). I'll start with a quick list of the steps, and detail them (with photos) below:
As a note, specifically for the Bloodbowl bases, I started by drilling out the hole the ball goes into with a 3mm pin-vice drill-bit and super-glueing in a magnet.
Summary:
- Water down PVA glue and paint the bases.
- Dip the base into sand.
- Allow glue to fully dry.
- Paint on patches of a paint with a crackle medium (e.g. Agrellan Earth), allow to dry.
- Repeat step 1 to seal in sand and crackle paint.
- Allow glue to fully dry.
- Paint entire base with watered-down Steel Legion Drab.
- Wash with Agrax Earthshade.
- Drybrush with 50:50 mix of Steel Legion Drab and Ushabti Bone.
- Further drybrush with pure Ushabti Bone.
- Paint the base-rim black.
- Glue small clumps of static grass (yellow grass).
1. Water down PVA (white) glue (about 1 fingertip drop of water per thumbnail sized blob of glue [to make about 5 bases]). Paint the glue on the base (try to avoid your model's feet!).
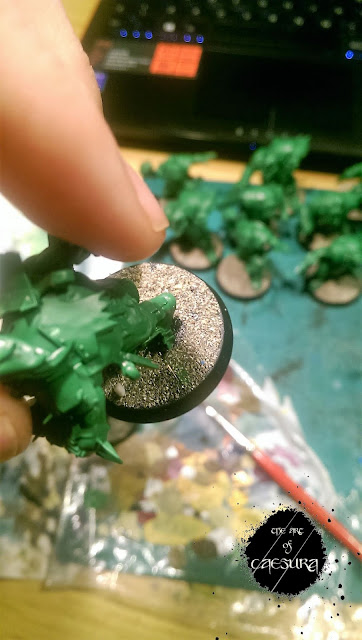
2. Dip the base into sand (I just keep a ziplock bag of sand from the beach. If you are using beach sand ensure it's mostly quite fine with a few tiny pebbles for diversity).
 |
3. Allow the glued sand to fully dry (couple hours).
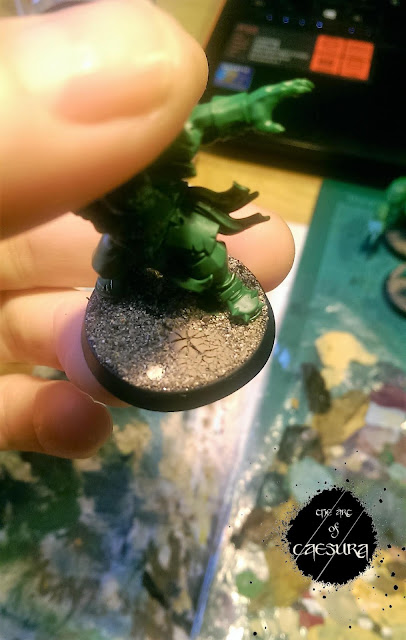
4. Paint on patches of a paint with a crackle medium (I use GW's Agrellan Earth - advice on using this paint: don't water it down or dilute with medium, use very thick blobs in patches on the base (I usually make 1-2 small patches per standard base). Try to spread the edges of the blob out a bit (tapering it down into the sand). MOST IMPORTANTLY: in my experience, for best cracking effect you have to hold it up to a heat source for about 5 min after you've applied it to the base. I've tried using hot fans, but this didn't work for me. What works best for me is holding the model up to (but not touching) the incandescent lamp I use when I'm painting.
5. Repeat step 1. (painting watered-down PVA glue over the sand and dried, cracked patches of Agrellan Earth) This will seal it all in place, so that bits of sand / crackle paint don't flake off.
6. Allow glue to fully dry (couple hours) - I leave it overnight at this stage
7. Paint entire base with watered-down Steel Legion Drab.
8. Wash with Agrax Earthshade.
9. Drybrush with 50:50 mix of Steel Legion Drab and Ushabti Bone.
10. Further drybrush with pure Ushabti Bone (better to repeat it several times with minimal paint than to try to do it in one go).
11. Paint the base-rim black.
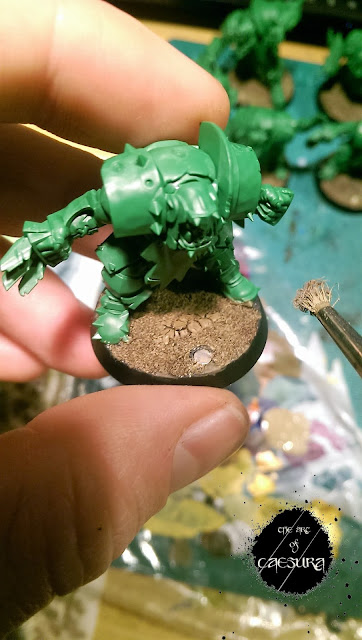
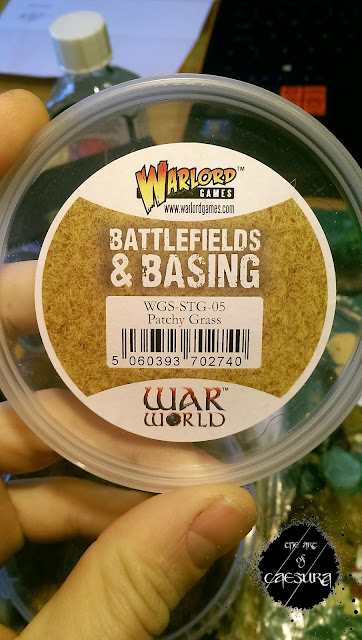
12. Glue small clumps of static grass (I think yellowed, dead / dry-looking grass looks best with this "badlands" aesthetic). Everyone recommends using PVA glue for this, but I always use superglue.
For a larger example of this process in action, check out the badlands base I made for my wyvern.
I hope that helps you base your Bloodbowl team / destruction army / whatever else needs to spend a bit of time out in the badlands. Let me know what you think - do you do anything differently?
See you next week on The Art of Caesura!
Watching: Into the Badlands (appropriately)
Reading: A Brief History of Time - Stephen Hawking
Listening: In Hell I'll Be in Good Company - The Dead South
Next Week:
Verdant pastures...








Comments
Post a Comment
Tell me all...