Not exactly forgiving when it comes to those Blood Bowl players
smashed and ground against it,
the astrogranite floor of the Reikland Reavers Oldbowl
bears the scars – and bits of skin and teeth –
you’d expect from a legendary stadium
that has seen hundreds of matches played
by thousands of bloodthirsty veterans.
Aaand we're back for some more Blood Bowl action on The Art of Caesura!
Last week we looked at how I make my Orc blood bowl bases (which can happily double for any kind of badlands base). Today it's the humies turn. Obviously this basing style can work well for anyone associated with grassy fields, many "good" armies, for example. As you can see I was basing these guys (and dark elf gals, and ogres and trolls) en masse, so this is a good quick and dirty method!
If you joined us last week, you'll see that much of the process is same so I'll reproduce it here to make it more convenient, but there are a few changes: I don't use any crackle paint and all of the colours are different to better represent a grassy field. Let's take a look (quick list first, photos and details follow). Apologies in advance that I wasn't as diligent at taking photos as I was last week, what with the shear number I was doing this week, I just cracked on. If anything is unclear, check out last week's post, or send me a message!
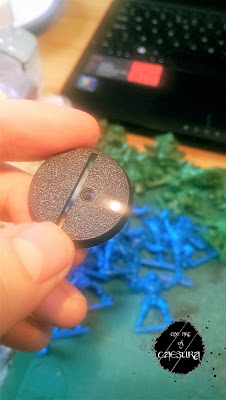
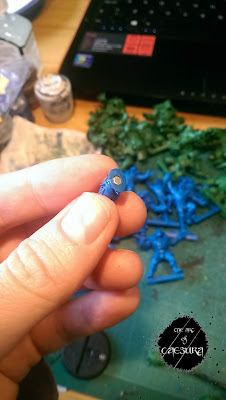
As with last week, I started by drilling out the holes in the bases using a 3mm drill bit on a pin-vice and super-glueing in a magnet. I did the same with the balls.
Summary:
- Water down PVA glue and paint onto base.
- Dip the base into sand.
- Allow the glue to fully dry.
- Repeat step 1 to seal sand in place.
- Allow glue to fully dry.
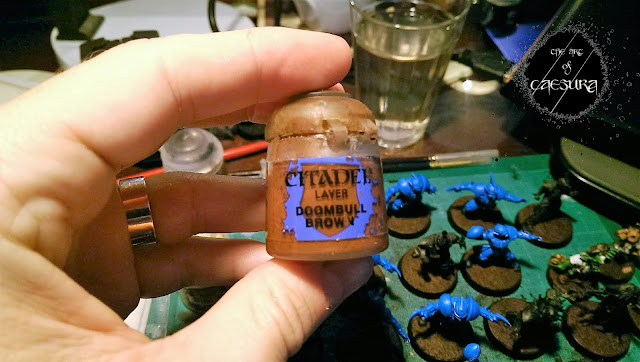
- Paint entire base with watered-down Doombull Brown.
- Wash with Agrax Earthshade.
- Drybrush with 50:50 mix of Doombull Brown and Ushabti Bone.
- Further drybrush with pure Ushabti Bone.
- Paint base-rim black.
- Glue small clumps of green static grass.
Details and Photo Guide:
1. Water down PVA (white) glue (about 1 fingertip drop of water per thumbnail sized blob of glue [to make about 5 bases]) and paint the glue on the base (try to avoid your model's feet!)
2. Dip the base into sand (I just keep a ziplock bag of sand from the beach. If you are using beach sand ensure it's mostly quite fine with a few tiny pebbles for diversity).
2. Dip the base into sand (I just keep a ziplock bag of sand from the beach. If you are using beach sand ensure it's mostly quite fine with a few tiny pebbles for diversity).
3. Allow the glue to fully dry (couple hours).
4. Repeat step 1. (painting watered-down PVA glue over the sand) This will seal it all in place, so that bits of sand don't flake off.
5. Allow glue to fully dry (couple hours) - I usually leave it overnight at this stage.
9. Further drybrush with pure Ushabti Bone (better to repeat it several times with minimal paint than to try to do it in one go).
10. Paint base-rim black.
11. Glue small clumps of green static grass. Everyone recommends using PVA glue for this, but I use superglue.
And that's a wrap! 40 Blood Ball players (and refs) all based and ready to go!
I also use this basing technique on my Lord of the Rings models, like Gimli and Faramir. The only difference is that in Blood Bowl I use more grass, where as for other games I would use smaller, sparser clumps.
I hope you found this quick tip useful and informative (Thanks Miniwargaming Kris ;) See you next week on The Art of Caesura!
Watching: The Haunting of Hill House
Reading: Troublesome Young Men: The Rebels Who Brought Churchill to Power and Helped Save England - Lynne Olson
Gigs: The Decemberists - I saw them in Dublin last Sunday, what a fantastic show!
Reading: Troublesome Young Men: The Rebels Who Brought Churchill to Power and Helped Save England - Lynne Olson
Gigs: The Decemberists - I saw them in Dublin last Sunday, what a fantastic show!
Next Week:
The maker of the storm...


Comments
Post a Comment
Tell me all...