Can the stoic dwarfs, led by Godri Thunderbrand,
fend off the greenskin invaders
and save the fledgling settlement of Karak Grom?
Or will the banner of the Crooked Moon boys
fly high above Skull Pass?
Battle for Skull Pass - Nathan Long
Welcome fellows all to another instalment of The Art of Caesura!
We've been looking at Oathsworn: Into the Deepwood over the past couple of weeks, but it is time to return to The Mortal Realms!
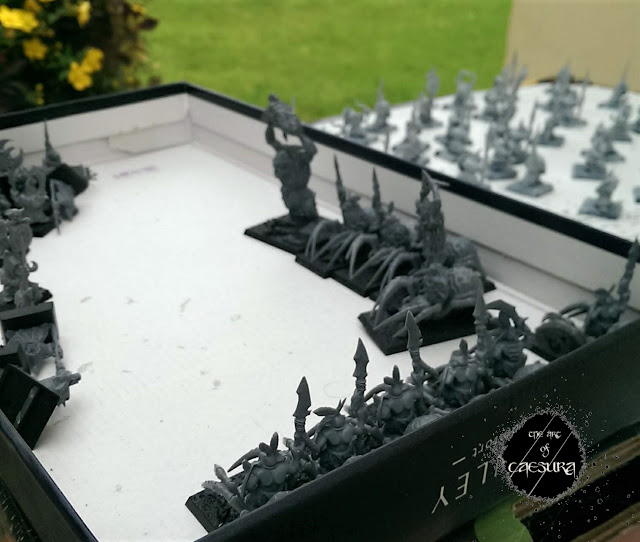
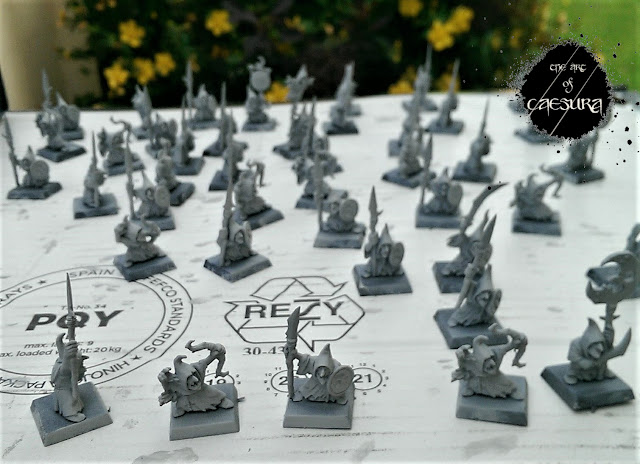
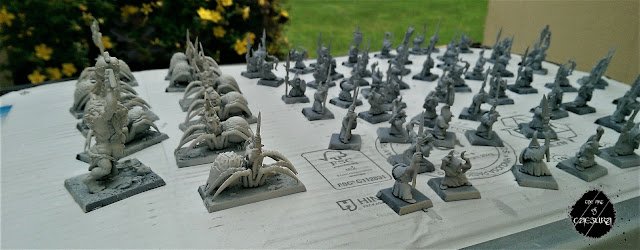
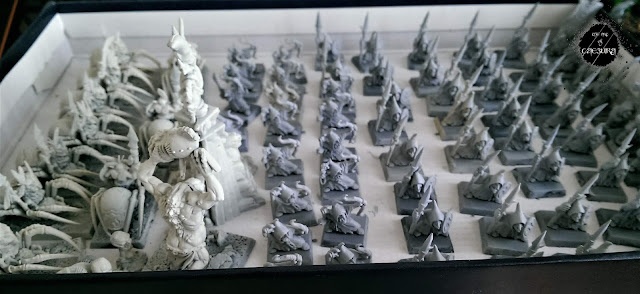
This week we're going to check back in with a project that I've had simmering away in the background for the past few months - my Night Goblins (Moonclan Grots) from the old Battle For Skull Pass box-set.
When last we left this horde of little buggers I'd just finished cleaning all 80 minis. And, I hasten to remind you that I am not an army painter. Painting five dudes at a time is a lot for me! Anyway, I felt like this would be a project for which Contrast Paints could really come into their own. So lets get caught up on what I've managed to get done in the background over these past few months.
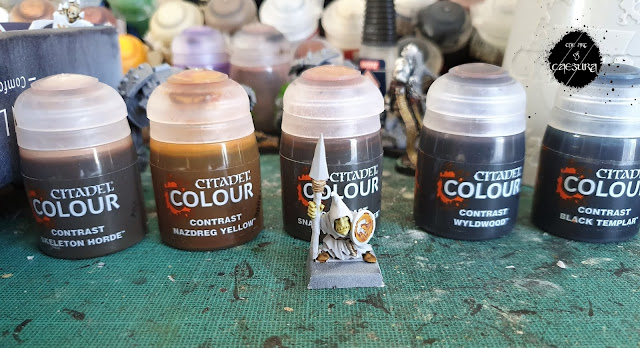
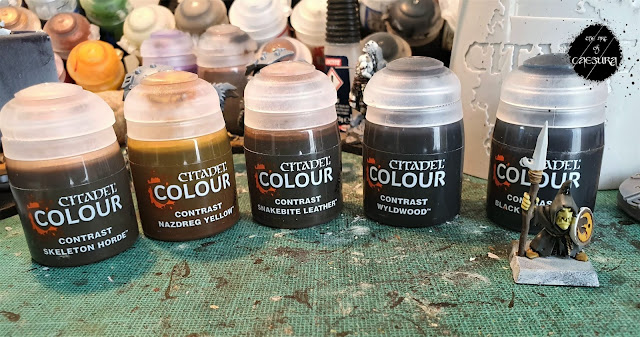
Above are all the Contrast Paints that I used for these goblins (plus Plaguebearer Flesh). I have been using Contrast Paints for a few months now since I first tried them at Warhammer Fest. This is my first large-scale project where I'm predominantly using Contrast Paints, so I'll give a couple thoughts on each paint as I discuss them.
I started by spraying all of the standard grots on foot with Grey Seer (again, you can really use any light spray undercoat when using Contrast. I sprayed the rest of the minis (the spider riders, troll, and scenery bits) with Wraith Bone to differentiate them a little.
Next Week:
Sworn enemies...
fend off the greenskin invaders
and save the fledgling settlement of Karak Grom?
Or will the banner of the Crooked Moon boys
fly high above Skull Pass?
Battle for Skull Pass - Nathan Long
Welcome fellows all to another instalment of The Art of Caesura!
We've been looking at Oathsworn: Into the Deepwood over the past couple of weeks, but it is time to return to The Mortal Realms!
This week we're going to check back in with a project that I've had simmering away in the background for the past few months - my Night Goblins (Moonclan Grots) from the old Battle For Skull Pass box-set.
When last we left this horde of little buggers I'd just finished cleaning all 80 minis. And, I hasten to remind you that I am not an army painter. Painting five dudes at a time is a lot for me! Anyway, I felt like this would be a project for which Contrast Paints could really come into their own. So lets get caught up on what I've managed to get done in the background over these past few months.
Above are all the Contrast Paints that I used for these goblins (plus Plaguebearer Flesh). I have been using Contrast Paints for a few months now since I first tried them at Warhammer Fest. This is my first large-scale project where I'm predominantly using Contrast Paints, so I'll give a couple thoughts on each paint as I discuss them.
I started by spraying all of the standard grots on foot with Grey Seer (again, you can really use any light spray undercoat when using Contrast. I sprayed the rest of the minis (the spider riders, troll, and scenery bits) with Wraith Bone to differentiate them a little.
I then got a massive conveyor belt going and painted each component of the gobbos starting with the lightest ('weakest') contrast paint: Skeleton Horde. I used this for all of the wrappings, rope belts, arrow feathers and skulls. Skeleton Horde was one of the colours that I was most impressed with when I first tried the contrast paints at Warhammer Fest 2019. I still find it does an excellent job of simulating Ushabti Bone + Agrax Earthshade.
I actually forgot to take photos of the first few steps individually, but after Skeleton Horde, I painted the skin of their arms and faces Plaguebearer Flesh. This is a really pale green that works perfectly for these anaemic, cave-dwelling goblins.
Next came Nazdreg Yellow on details like moons on their shields and belt buckles. Nazdreg is a nice deep golden yellow. I usually just mix my yellows from Yriel Yellow, so can't be sure on a colour match, but at a guess I would say Nazdreg is like Averland Sunset + Seraphim Sepia. It is quite a 'strong' (high pigment) colour.
After Nazdreg Yellow came Snakebite Leather. I used this ol' call-back for the goblins' shoes, quivers and pouches. Despite its light tone, it is a very strong (high pigment) colour and has a different (smoother) finish than many of the other Contrast Paints that I have tried.
Following on from Snakbite Leather came Wildwood - excuse me - Wyldwood. I used this on the bows, arrows and spears.
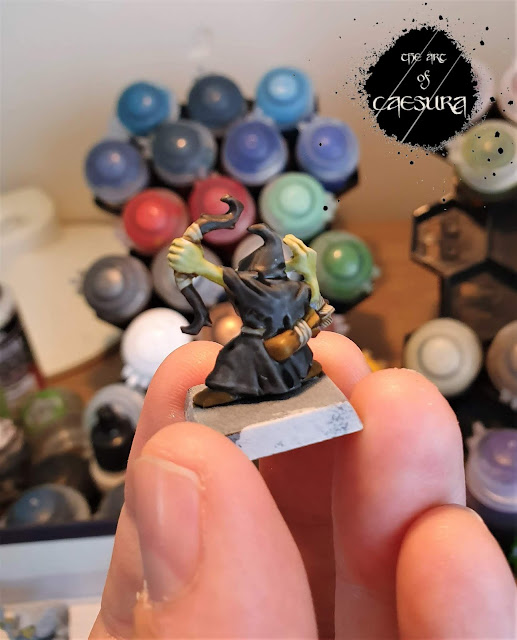
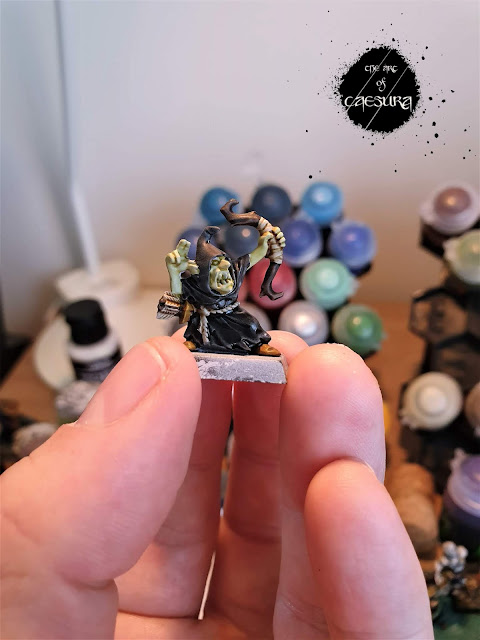
And finally we were on to the colour that makes up the majority of the model: black; Black Templar in this case. I actually found this one a little tricky to get right. If I applied it too heavily it would look a bit flat, negating the Contrast properties, but if applied too light then tide marks became more of an issue. After 80 minis I managed to get it right ;)
The trick to these contrast paints is getting used to the right consistency of application (typically a little thicker than one would expect - though it unfortunately varies between different colours). Once you have the consistency right it's about keeping it right - so only painting sections of a model at a time (the more you paint in one go, the thinner the paint will get before you "reload"). This was very simple with the grots because there were a lot of folds to hide the take-off points in (if you take the brush off in the middle of a flat surface you're more likely to get an unsightly tidemark). I painted their hood in one go, then the bit going over their shoulders down to the top of their belt, and finally their skirt.
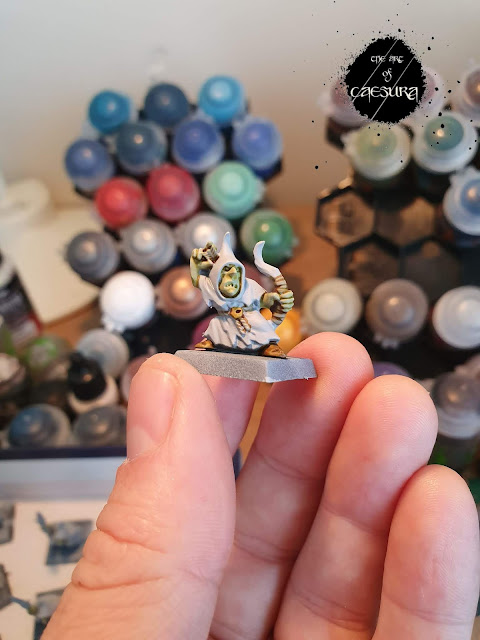
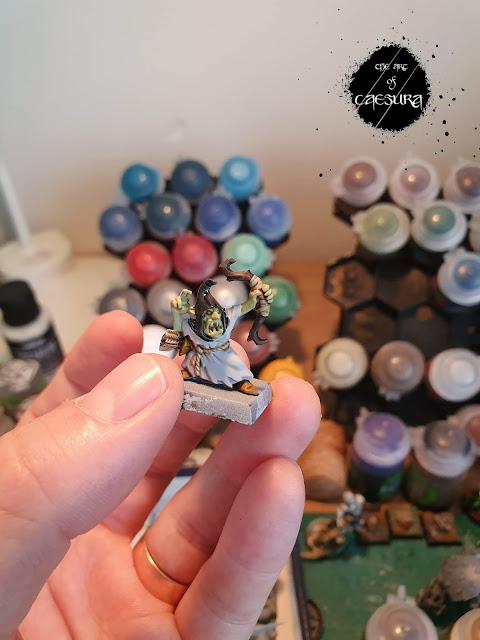
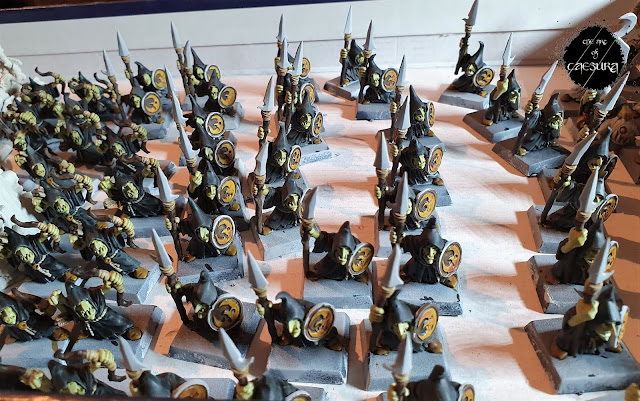
I know it may not seam like it because I went colour by colour rather than painting one model to completion, but I would say that this Contrast method allowed me to get each of these goblins up to this level (start-to-finish) in under 5 minutes!
All that remains on the rank and file are bases and details (eyes, teeth and metal bits (spear heads etc). Overall, I'm pretty happy with the level I've been able to achieve in the time devoted to them. I don't know if I would ever have got around to painting them using the conventional method.
I hope that my first large-scale foray into Contrast Paints has been helpful. As always, feel free to leave any questions below.
See you next week on The Art of Caesura!
Reading: Paradise Lost - John Milton
Watching: Toby sculpting Oathsworn minis
Listening: Beneath the Eyrie - Pixies
Sworn enemies...






Nice, I painted the exact same set with almost exactly the same method as yourself but instead of using black Templar for the robes I already had the robes colour from black priming and then dry brushed the robes a grey, the worst part for me was painting wraithbone on all the parts I wanted to contrast after...so did I save time probably not lol
ReplyDeleteHaha! Contrast paints really excel at motivating us to do these hordes that may otherwise never have got painted. Do you have photos of yours anywhere? I'd love to see them!
Delete