The most numerous of all the spirits
that join Nighthaunt processions
are the Chainrasp Hordes.
These gheists are created from the spirits
of the most vicious and irredeemable criminals
to have lived in the Mortal Realms.
Welcome back to another Friday on The Art of Caesura!
Lets pick right up where we left off last week with the Thorns of the Briar Queen.
Last time we discussed all of the Contrast Paint elements. Highlighting these bits involved some fun colour-matching. Some parts were easy - the bone bits didn't really need any highlighting (such is the majesty of Skeleton Horde).
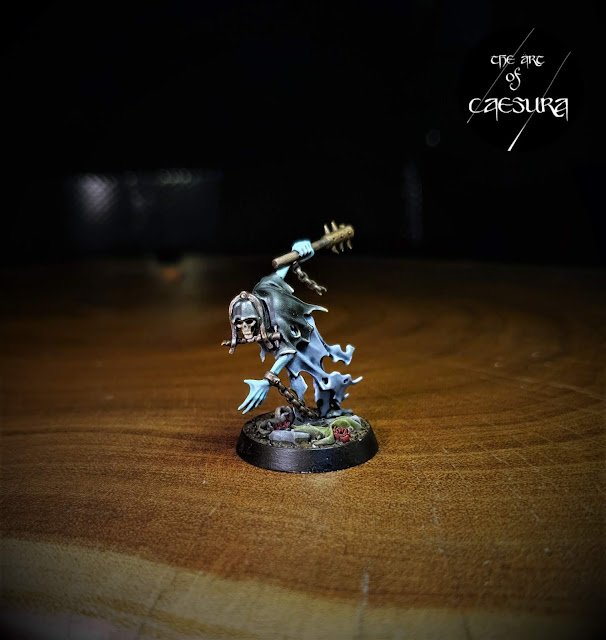
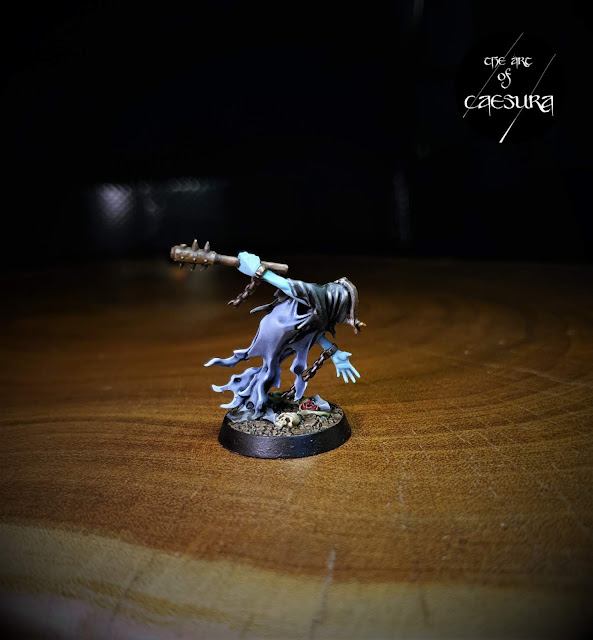
For their skin I only wanted very subtle highlights because I didn't want their ectoplasmic state to look to defined, and I though this would better contrast the strong textures of the metal elements. I started by shading the Nihilakh Oxide with 1:4 Nuln Oil: Lahmian Medium. I then highlighted the skin with a mix of approx 2:1 Gausblaster Green: Lothern Blue. Adding a tiny bit of white to this mix provided a good highlight for the shaded Nihilakh Oxide.
Next came highlighting the Space Wolves Grey ethereal bits. I mixed Grey Seer into The Fang and glazed this on to the more prominent folds to keep a smooth blend. I added more and more Grey Seer and then some White Scar to this mix for subsequent highlights.
For the Black Templar bits I simply mixed Abaddon Black and White Scar together for a neutral grey highlight.
With the colour-matched highlights complete, it was on to metallics - one of my favourite parts! I used a combination of true metallic colours as well as metallics over-painted with Contrast Paints. I was pleasantly surprised with the effects achievable with the Contrast Paints.
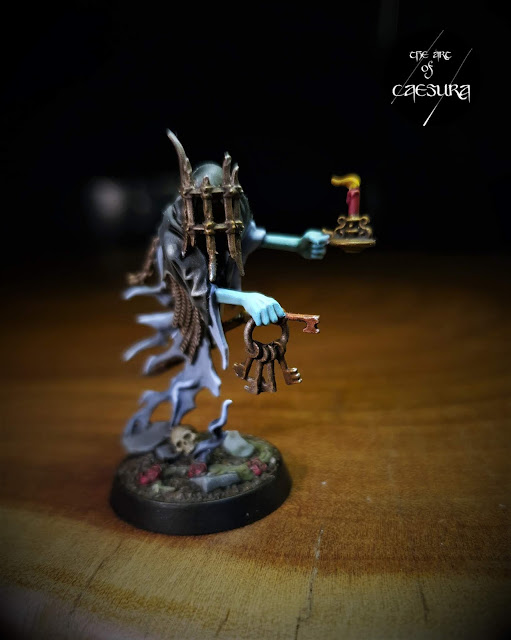 |
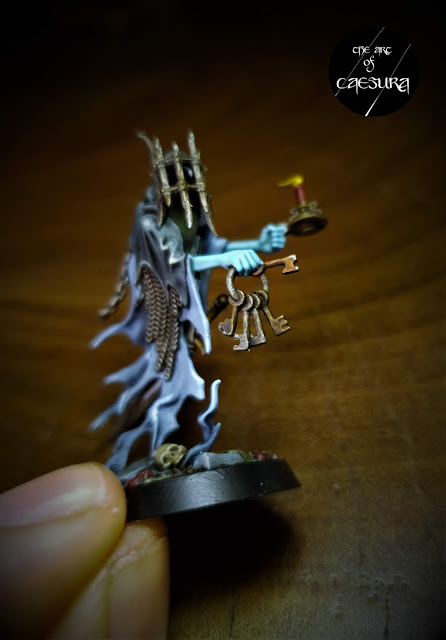
| In case you couldn't tell from the copious number of pictures of him, Varclav the Cruel is my favourite of the lot! |
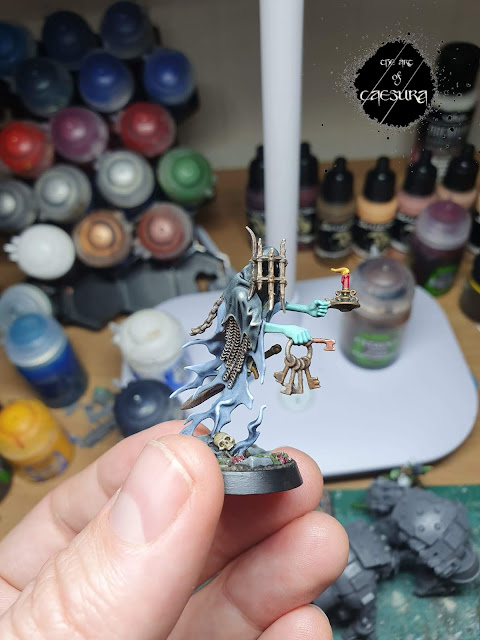
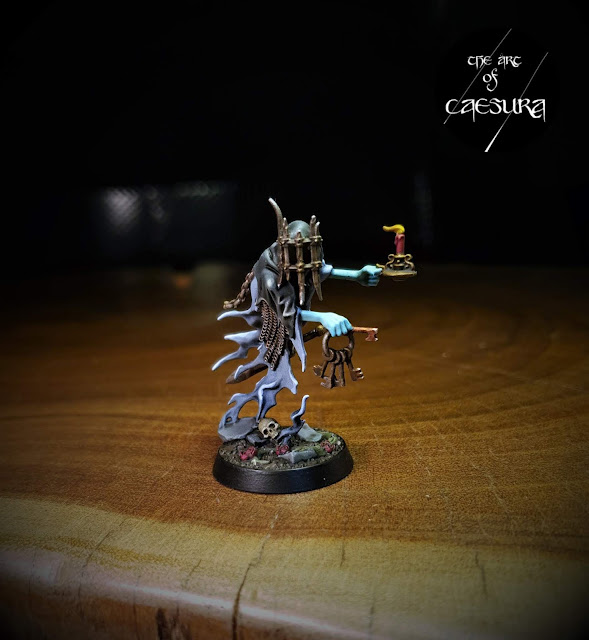
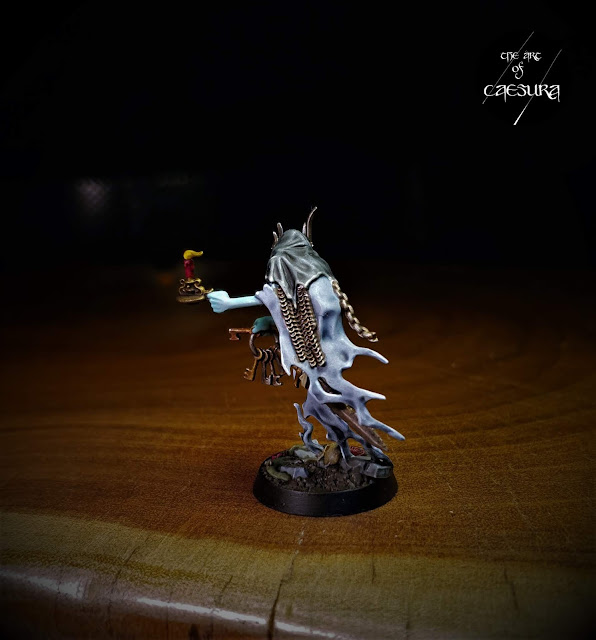
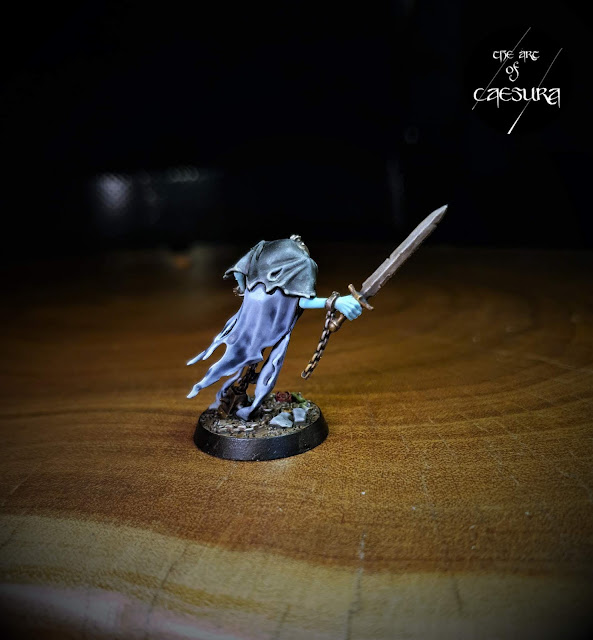
I knew that I wanted all of the metallics to be really dark and textured on these models to contrast the pale ethereal skin and wispy elements. I started with Leadbelcher for ALL of the metal areas. For the bits that would end up a silver tone (steel, iron etc) I went straight on to weathering from here (I'll get to that in a second). For the gold (Varclav's second key) I "washed" the Leadbelcher with Nazdreg Yellow. The brass bits (Varclav's candlestick holder and the sword hilts) were washed with Snakebite Leather. As you can see, once weathered, these gave a pretty convincing metal effect. Any copper bits (Varclav's first key) was simply Screaming Bell (though it would have been interesting to use an orange Contrast Paint if I'd had one.
Once the metallic parts were painted I weathered them all at the same time. I went a bit more to town on the silver-coloured (iron) parts to add a bit of interest. On the silver/iron bits I started with Typhus Corrosion (I find to get the best effect, blob a bit on then smudge it off with your thumb!). I then gave heavy coats of Nuln Oil and then more directed Agrax Earthshade into the crevices. I then gave a dry-brush of Ryza Rust and finally highlighted some raised areas with Runefang Silver.
I really had to reign myself in on the Runefang highlights, because I wanted the metal to look like it had just been animated off the ground (where it had been lying for centuries) by the spectral being, rather than look like it had been dinged-up in recent battles.
The other metal areas (brass and copper) just received the washes and highlights; I avoided the Typhus and rust stages because only iron-bearing metals rust!
And there we have them, all of the Thorns of the Briar Queen! That only leaves one model from the set - the Briar Queen herself!
Tune in next week for more on The Art of Caesura!
Reading: Finding Gobi - Dion Leonard
Gaming: Mortal Kombat 11
Drinking: Wicklow Wolf Beers
Next Week:
The rose between the thorns...






Comments
Post a Comment
Tell me all...