There are older and fouler things than Orcs
Dear fellow Caesurians, welcome back to The Art of Caesura!
Thank you for joining me for the 4th birthday of the blog last week, and if you recall, the last image of the post (and the blog's birthday present) was a teaser for what we're looking at today. If you missed it, check it out here!
in the deep places of the world.
The Fellowship of the Ring, J.R.R. Tolkein
Dear fellow Caesurians, welcome back to The Art of Caesura!
Thank you for joining me for the 4th birthday of the blog last week, and if you recall, the last image of the post (and the blog's birthday present) was a teaser for what we're looking at today. If you missed it, check it out here!
I have a long history with this model. I have always loved The Lord of the Rings. I remember our imaginations going wild when my dad read a beautifully illustrated edition of The Hobbit to my brother and I when we were kids. A few years later, I read The Lord of the Rings to my brother, and have read them all again a couple times since. I look forward to when my daughter is old enough to get lost in Tolkein's epic world.
When Peter Jackson's 'The Fellowship of the Ring' came out I managed to get tickets to opening night in the biggest movie theatre in town. It was mental. The line-up was about 4 hours long to get a good seat; we even had time to film a bit of a mock car commercial while we took turns standing in line.
When Peter Jackson's 'The Fellowship of the Ring' came out I managed to get tickets to opening night in the biggest movie theatre in town. It was mental. The line-up was about 4 hours long to get a good seat; we even had time to film a bit of a mock car commercial while we took turns standing in line.
Before the film started, a fan in a Gandalf costume stood in the front of the screen and recited the "One Ring to Rule Them All" speech. Rather than get booed or jeered at, he was celebrated with applause. The atmosphere was electric.
My favourite part of the whole movie was the Balrog scene. I still almost choke up as I silently mouth along with Gandalf "Fly, you fools!" after having bellowed "YOU SHALL NOT PASS!" Anyway, I'm a big nerd...
So when my wife and I visited New Zealand a few years ago we felt...inspired:
When the model of the Balrog came out a good few years ago, I totally fell in love with it, but I never got around to picking it up. Then a few years ago when I got to visit Warhammer World, I wanted to get a special model to remember it by - I finally got THE BALROG!
So today, many years in the making, lets look at the physical making and painting of this epic model.
So today, many years in the making, lets look at the physical making and painting of this epic model.
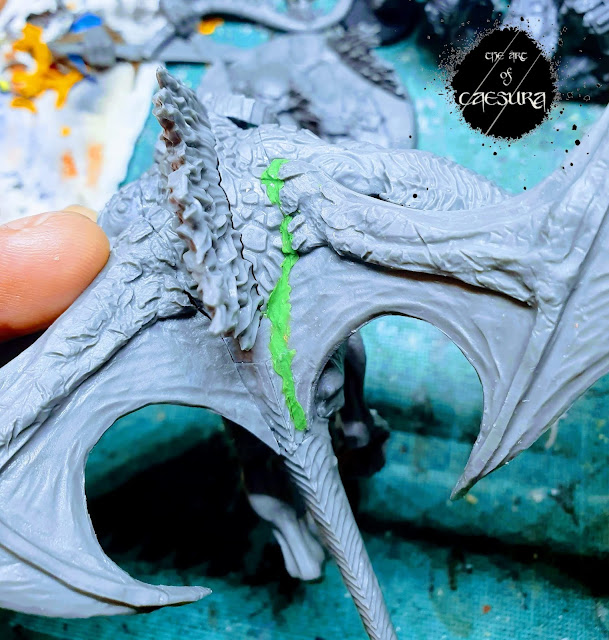
After fully assembling the Balrog, I did a bit of gap filling with (neon) Green Stuff.
I then magnetized his right hand so that I wouldn't have to choose between sword and whip.

Rather than stick him to his actual base, I super-glued him to an old rectangular base so that I could paint his base separately. Also with these big models, I like using big brushes (size 4 and 6 for much of it), so sticking him to a different base let me work in quick broad strokes without worrying about getting paint where I didn't want it.
The final thing to mention about the assembly, is that I wasn't a huge fan of the flames coming out of the ground around his feet on the original model (which you can see in the reference picture below) so I just filled the small holes their pegs fit into with Green Stuff before undercoating the mini.
 |
| Credit: Games Workshop |
From the first time I saw this miniature, I knew that the element that I would really want to focus on was the contrast between the bright molten flames crackling through his dark scaly flesh.
I spent ages (technically, years) thinking about exactly how I would accomplish such contrast. I figured that if I undercoated the whole model black, that it would be really difficult to build up a nice bright orange and yellow for the crevices. I find yellow especially can take on a greenish hue when painted over black.
So instead I undercoated it with Wraithbone Spray. And then the craziness began...
With my long history of loving this model, it was pretty nerve-wracking finally painting it - especially when I was using techniques that I hadn't really used before.
I decided that I wanted to capture the Balrog in the moment shown in the screenshot from the film above - as it's exploding in flame. I wanted it to look even hotter than the simmering magma style of the box art.
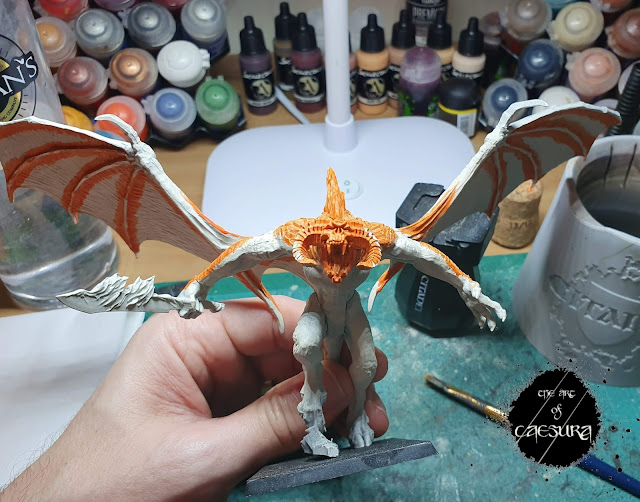
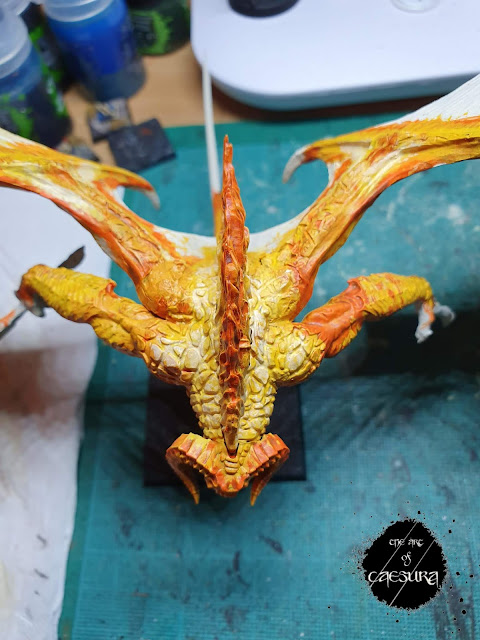
I started by roughly blocking in all of the fiery bits with Troll Slayer Orange (the first orange I've owned - which I bought specifically for this project!)
I then covered this in Yriel Yellow in the areas that I wanted to look hottest.
I then further built-up the hot parts by mixing Wraith Bone with Yriel Yellow. I was just going at this with my number 4 brush, really not worrying about covering the parts that would end up being dark skin, but rather focusing on getting nice blends between the fiery colours with dry-brushing and over-brushing.
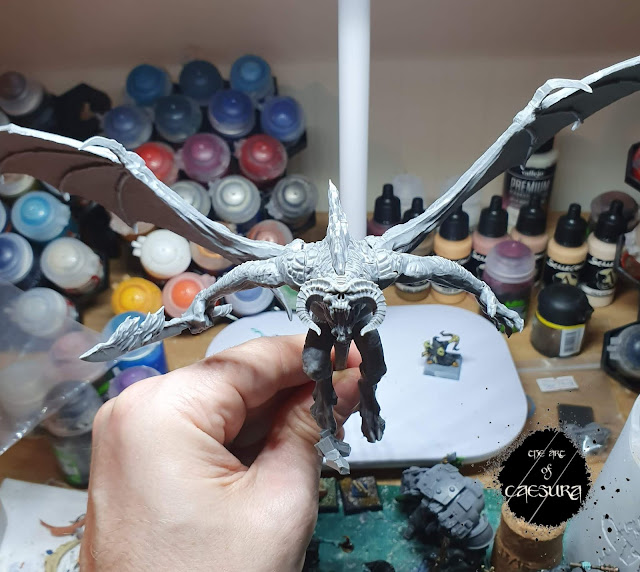
At this stage (and unfortunately I didn't take a photo of this next step) I painted many of the places that were going to be dark skin with Steel Legion Drab. My rationale here was that I thought the Balrog's skin would be much more interesting and nuanced if it was actually a REALLY dark brown rather than pure black.
I must say, even at this stage I was thinking: "oh God, what have I done," but I held the line and had faith that it would all come together in the next step.
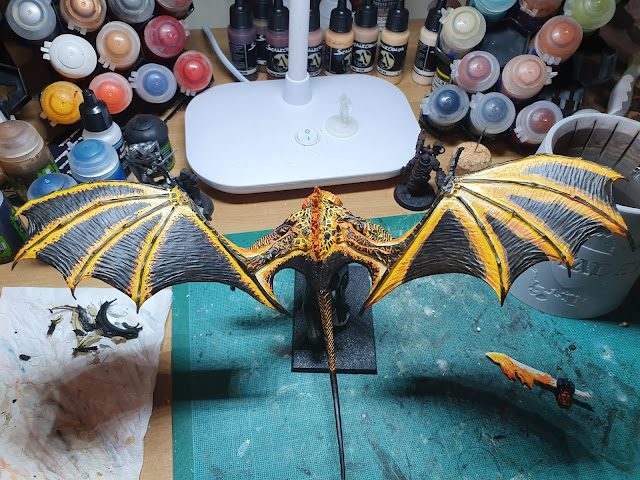
The next step was to paint over the Steel Legion Drab with a thin layer of Abaddon Black so that the Steel Legion could kind of come through the black a bit.
Below, you can see when this process is mostly complete. On the wing on the right of the picture you can see the Steel Legion Drab undercoat at the borders of the black "triangles" on the wing membranes. From here, I used an old number 1 brush to dab an irregular pattern in black along this border to give the look that you can see on the wing on the left.
Dabbing the pattern onto the wing was a time-consuming process, each wing taking about an hour! But it was also quite meditative; and with the black and orangey pattern I actually thought it looked quite beautiful - like a big Monarch Butterfly.
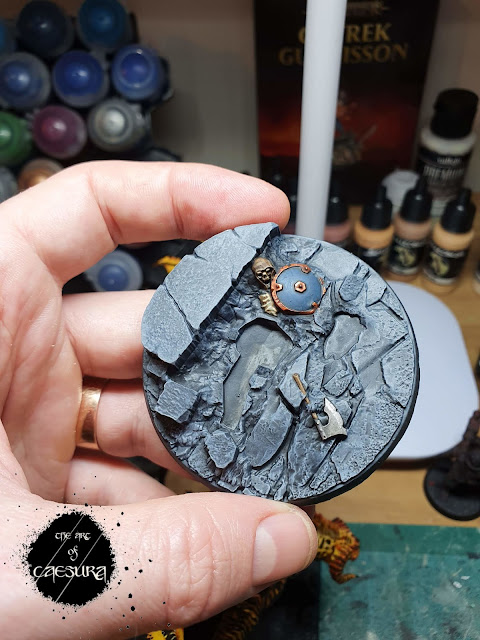
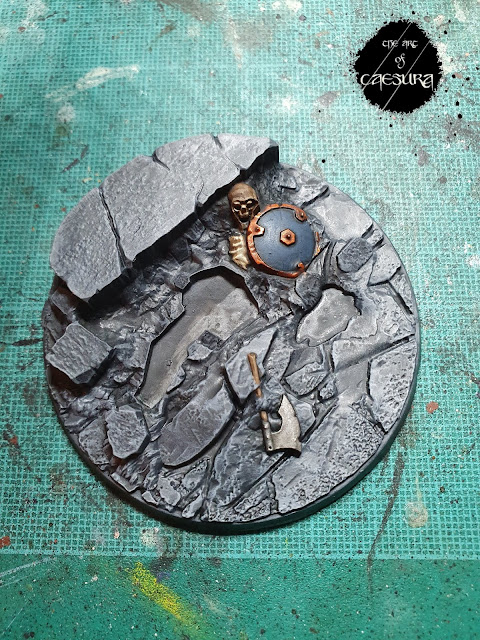
Once the black was all in place, the Balrog itself was almost done. I started work on the base before finishing the final details on the beast. The base was quite quick in compairison: undercoated black, two dry-brushings, first with a hint of White Scar added to Abaddon Black and second with two hints of white added. Oh, and a Nuln Oil wash between the two dry-brushings.
I kept the details (axe, skeleton and shield) very muted, not highlighting them after shading them with Nuln Oil. I didn't want them to detract from the Balrog.
Once I had completed the base, I noticed the small bit of stone under the Balrog's right foot, which I had forgotten to paint at the same time as the base. Grrrr. As you could see above, my recipe for the grey was 'very precise' so I struggled a bit trying to apply the same sized "hint" of white to mix with the black.
The final details on the Balrog were to paint his claws and hooves and talons on his wings with a couple more coats of black and then gloss varnish; and the flames on his weapons and back with satin varnish (Stormshield Technical) just to give a bit of variety of texture.
Then all that remained was to pop him off his temporary base and stick him on his sculpted one...PRESTO!
 |
| Sad face. |
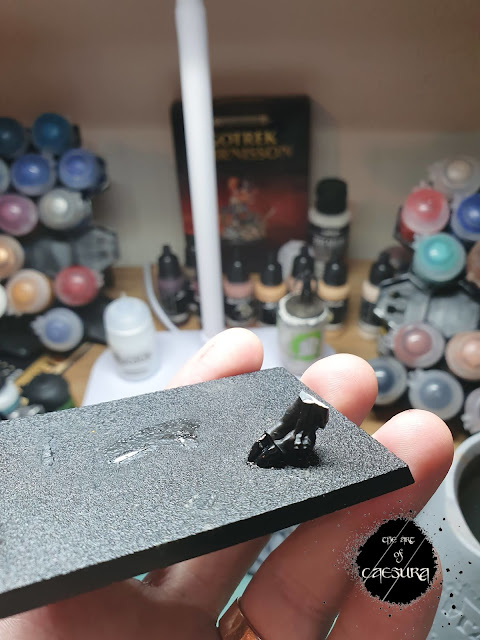
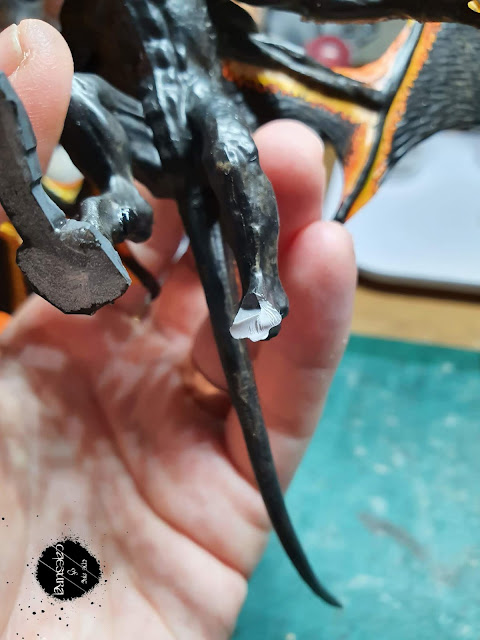
Or not...! AAAaaaaahhhh!!! At the final hurdle I snapped the ankle off the fully painted miniature!! I don't really know how it happened - I didn't think I had glued it down that strongly or that I was applying that much force - okay, maybe I was...
This was a larger hurdle than may have been expected. Firstly, actually removing the foot from the base was not an easy job, and I ended up having to use clippers (which mangled the nails on the foot a little - requiring those to be repainted and glossed). But then after re-gluing the ankle together, I had to try to colour match my "Steel Legion Drab showing through black" technique along the join line...
Tune in to The Art of Caesura next week to see if I was successful...
Watching: Sex Education - Season 2
Listening: "On the Radio" - Chip Taylor
Reading: The Great Believers - Rebecca Makkai
Next Week:
Durin's Bane...








Comments
Post a Comment
Tell me all...