I gotta give ya credit zombie,
you got no quit in ya!
Call of Duty: Black Ops
Welcome back, one and all, to another Friday on The Art of Caesura!
Last week we stood, petrified to the spot, as we saw the Shrieker bearing down on us. This week we'll dial it down a notch and look at some of the more common shambling horrors of Wewelsburg Castle: Nazi Zombies!
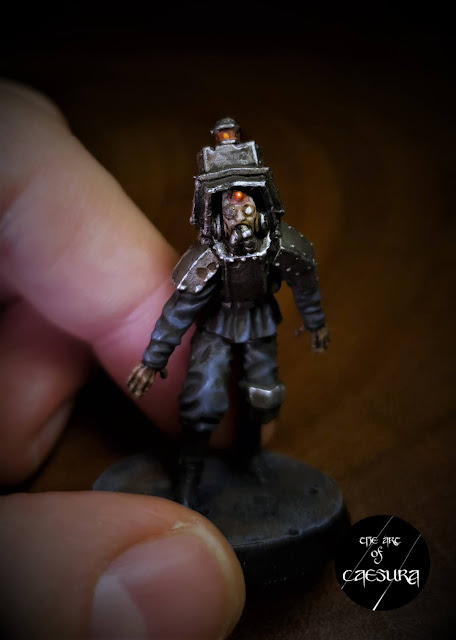
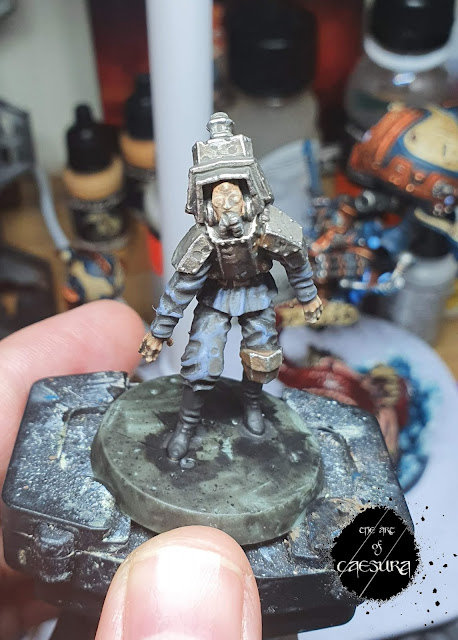
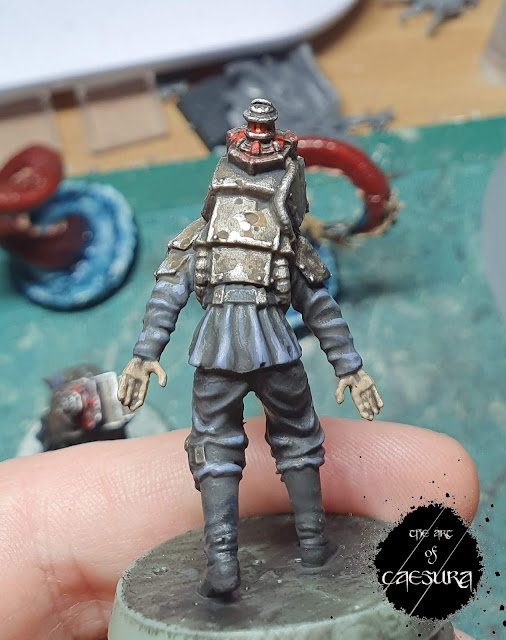
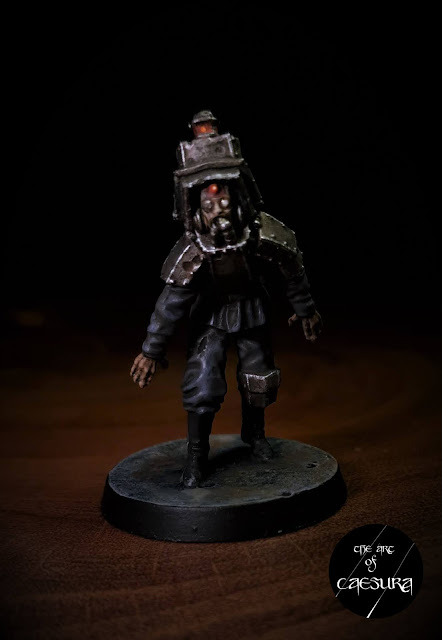
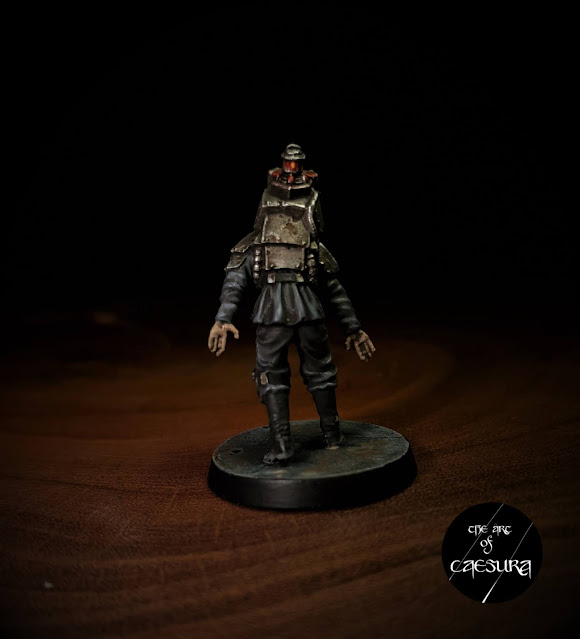
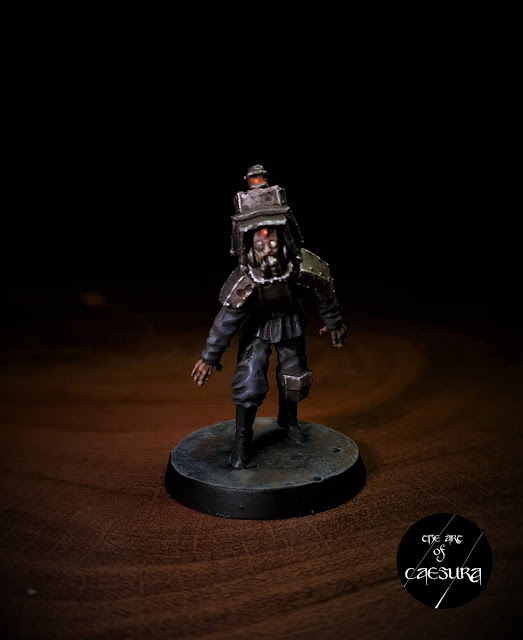
These models are great! The posture is perfect, and I love how you can see the military fatigues coming out from beneath the Vril reanimator on his back.
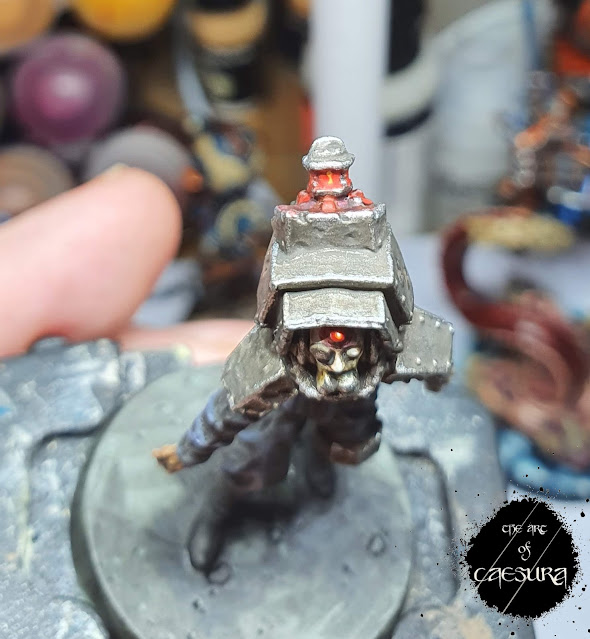
...And their faces. Wow. Eerie. I admit I had to look at the official artwork to make out what was going on, but then you can see the metal eye plate, the Vril light on their foreheads and the tubing going into their mouths. Truly haunting.
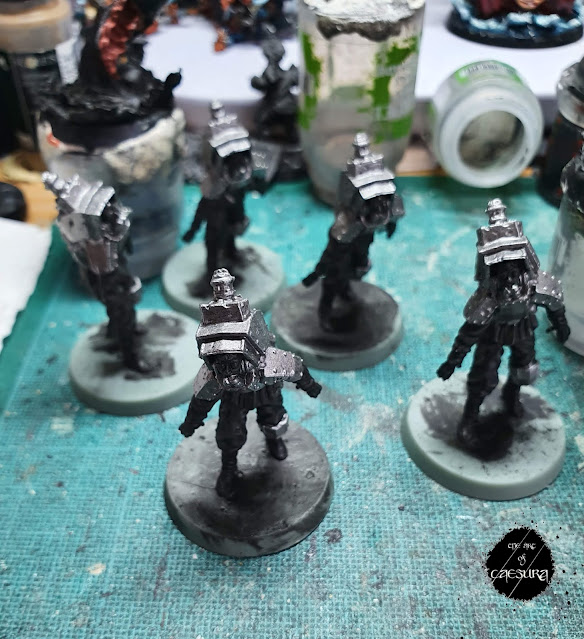
Much of the painting of these guys employed the quick and dirty enamel wash technique that I summarised last week. I can't remember how many of these buggers there are, but I started with five.
From a black undercoat, I painted all the metal bits Leadbelcher.
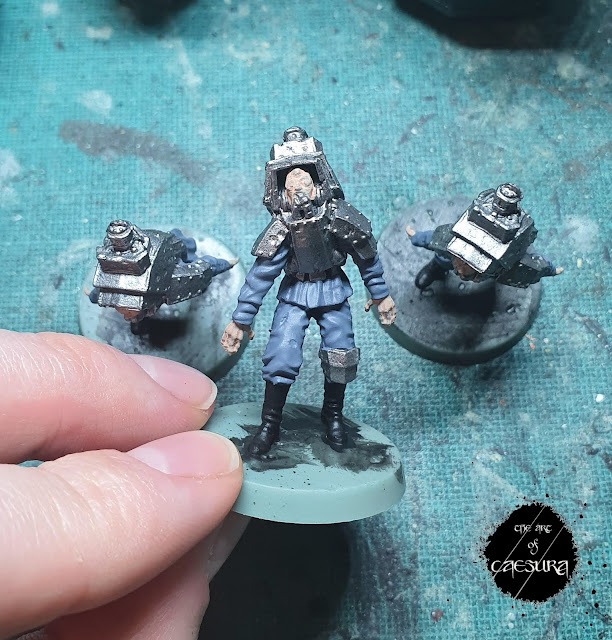
I painted their fatigues The Fang, and then sealed the whole model with Technical Stormshield (satin varnish)
Because I am still experimenting with how I am painting my Reichbusters miniatures, I started painting his skin before the enamel wash. I used Cadian Fleshtone for this step. For the Shrieker, I painted his skin after the wash, which made the skin look less grimy, but gave it more of a pop against the dark metals.
At this stage I coated the whole thing in Dark Brown enamel wash.
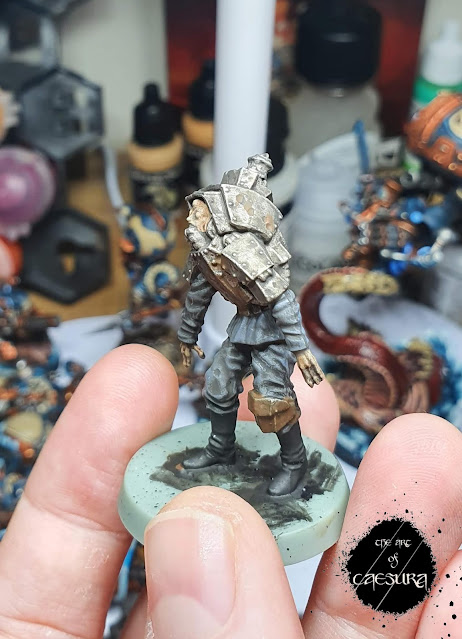
Once the Dark Brown wash was dry, I came in with Rust Streaks, painting it quickly and messily onto areas where rust might build up.
Once all the enamels were dry (by the time I'd finished the fifth zombie, the first one was ready to go) I used white spirits on a q-tip to dab and roll the enamel washes off the most raised points of the metal, skin and the clothing.
One of the things that makes this technique so speedy is that you could just leave it there. By pulling the enamel wash off the raised areas it creates a natural highlight. But I took things a step further and highlighted the metal with Stormhost Silver and the cloth with The Fang.
Then I returned to the skin. I painted a few coats of S75 Pale Flesh on the face and then shaded with Athonian Camoshade just on the lower half of face.
I painted the left eye and Vril indicator light with Wraithbone with a dot of White Scar, keeping the dark outline for contrast.
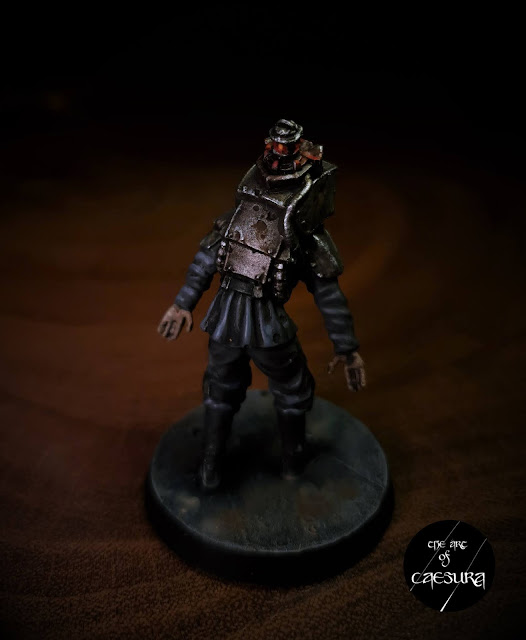
Next came a technique that I had never really tried before, but I knew would be important for this Reichbusters project: OSL (object source lighting). This is the effect of light emanating from somewhere, hitting other parts of the model. I wanted to use this on the Vril canisters across the range of Reichbusters' baddies to give some visual excitement that jumps out from the dark dingy metals that will unify the models.
I used an excellent article from 'Eavy Metal in White Dwarf from August 2019 that detailed this process. I went in with the mantra that "less is more" - I didn't want to flood the whole model in a red glow, I just wanted it to hit the metal ridges around the Vril canister. I will go into detail on OSL in a future post.
I didn't do a brilliant job of documenting this technique, because I was still learning as I went along, and kept going back to do touch-ups until I was happy with how it turned out.
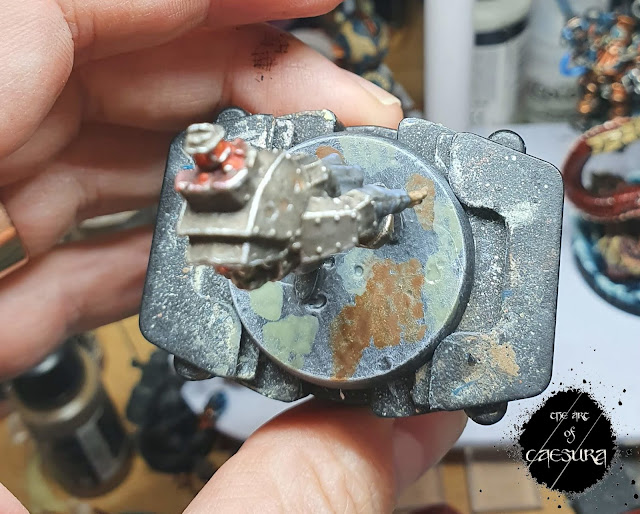
Then pretty much all that was left was the base!
Paint the rim black, and Bob's your uncle!
Let's look at some creepy pictures of these completed Nazi Zombies.
I think this style of painting really suits the models of Reichbusters, what do you think?
Thanks for joining me for another week on the Art of Caesura!
Reading: The Lies of Locke Lamora - Scott Lynch
Drinking: Around the Clock - Porterhouse
Watching: The Midnight Sky - George Clooney
Next Week:
Jabba the Vrilmeister...














Comments
Post a Comment
Tell me all...