
Worms are the intestines of the earth.
- Aristotle
Wah Hooo! It's another Friday on The Art of Caesura!
It was lovely to have you for the blog's 7th birthday last week! If you missed it, you can retrospectively join in the festivities here!
So, you may have noticed that the blog's birthday present (the biggest model of the year) was revealed to be: The Giant Wyrm!

***Note on Spoilers: This model is one of the poster-boys of Oathsworn. It has been used in promotional content for the game prior to release. It is one of the few bosses NOT considered to be a spoiler (along with the Broodmother, and a few others).

Although the boss of Chapter 3, this is only the second Oathsworn boss that I have painted (I haven't made it 'round to the Chapter 2 boss yet). My painting philosophy for this guy was much the same as for the Broodmother: work quick, have fun, try new things!


So! From a Wraithbone rattle-can base coat, I used an airbrush to highlight the raised surfaces with Liquitex White Ink. This started to give some volume to the shapes.
I then airbrushed some Carroburg Crimson, followed by a thinner area of Druchii Violet (both thinned with airbrush thinner) onto the underside of the wyrm, and also the two depressed grooves running along its back, to represent the dorsal blood vessels of a worm. I also filled in the maw at this stage, but that was just to have something down, because I knew I would be painting over this at a later stage.


Next came a similar, though smaller, pass with Contrast Leviadon Blue - I was starting to get some nice colour gradients.


After this I gave all of the Wraithbone areas a light spray of Athonian Camoshade - avoiding the raised areas that I has previously sprayed the white ink.

Then, as is so often the case with this next paint, came the moment of truth. Streaking Grime! Thinking back, I don't know if I've ever actually used this paint for a "streaking grime" effect. I usually either use it applied quite randomly and thick for built-up dirt and grime (see my Reichbusters minis) or fairly even and thin (as on this model) as a sort of colour filter of grime. Once it is applied all over, I remove it from the most raised areas with white spirts. I think this worked wonders on the wyrm. It sits nicely in the folds, giving some great contrast, and ties the reds, purples and dirty greens together to make it look like the dorsal blood vessels really are under the skin!


Next I swapped to a hairy brush and painted the tusks and tail spike with Contrast Black Templars (but would go on to use an opaque black, so this was just used as a quick base coat. I painted the maw Contrast Shyish Purple - I wanted it to be quite dark to draw attention from the light body and rasping teeth.


With the dark maw painted, I busted out the airbrush again and gave a few focused sprays of Cadian Fleshtone (thinned) where the black tusks meet the maw. This gives extra contrast and visual interest.

I then painted the tusks and tail spike Abaddon Black. From the black basecoat, I highlighted with an Incubi Darkness glaze and then a further glaze of Skavenblight Dinge before edge highlighting Dawnstone and then Grey Seer.


The last step on the wyrm was to give the maw, tusks and tail spike a lick of gloss varnish. I then repeated the UHU glue trick that I used on the Broodmother (this time keeping it clear rather than mixing in any pigment).

I think it looks horrifying...in a good way!

All that remained was the base. I painted it in pretty much the same way as the rest of my Oathsworn bases - the dedicated post can be found here.


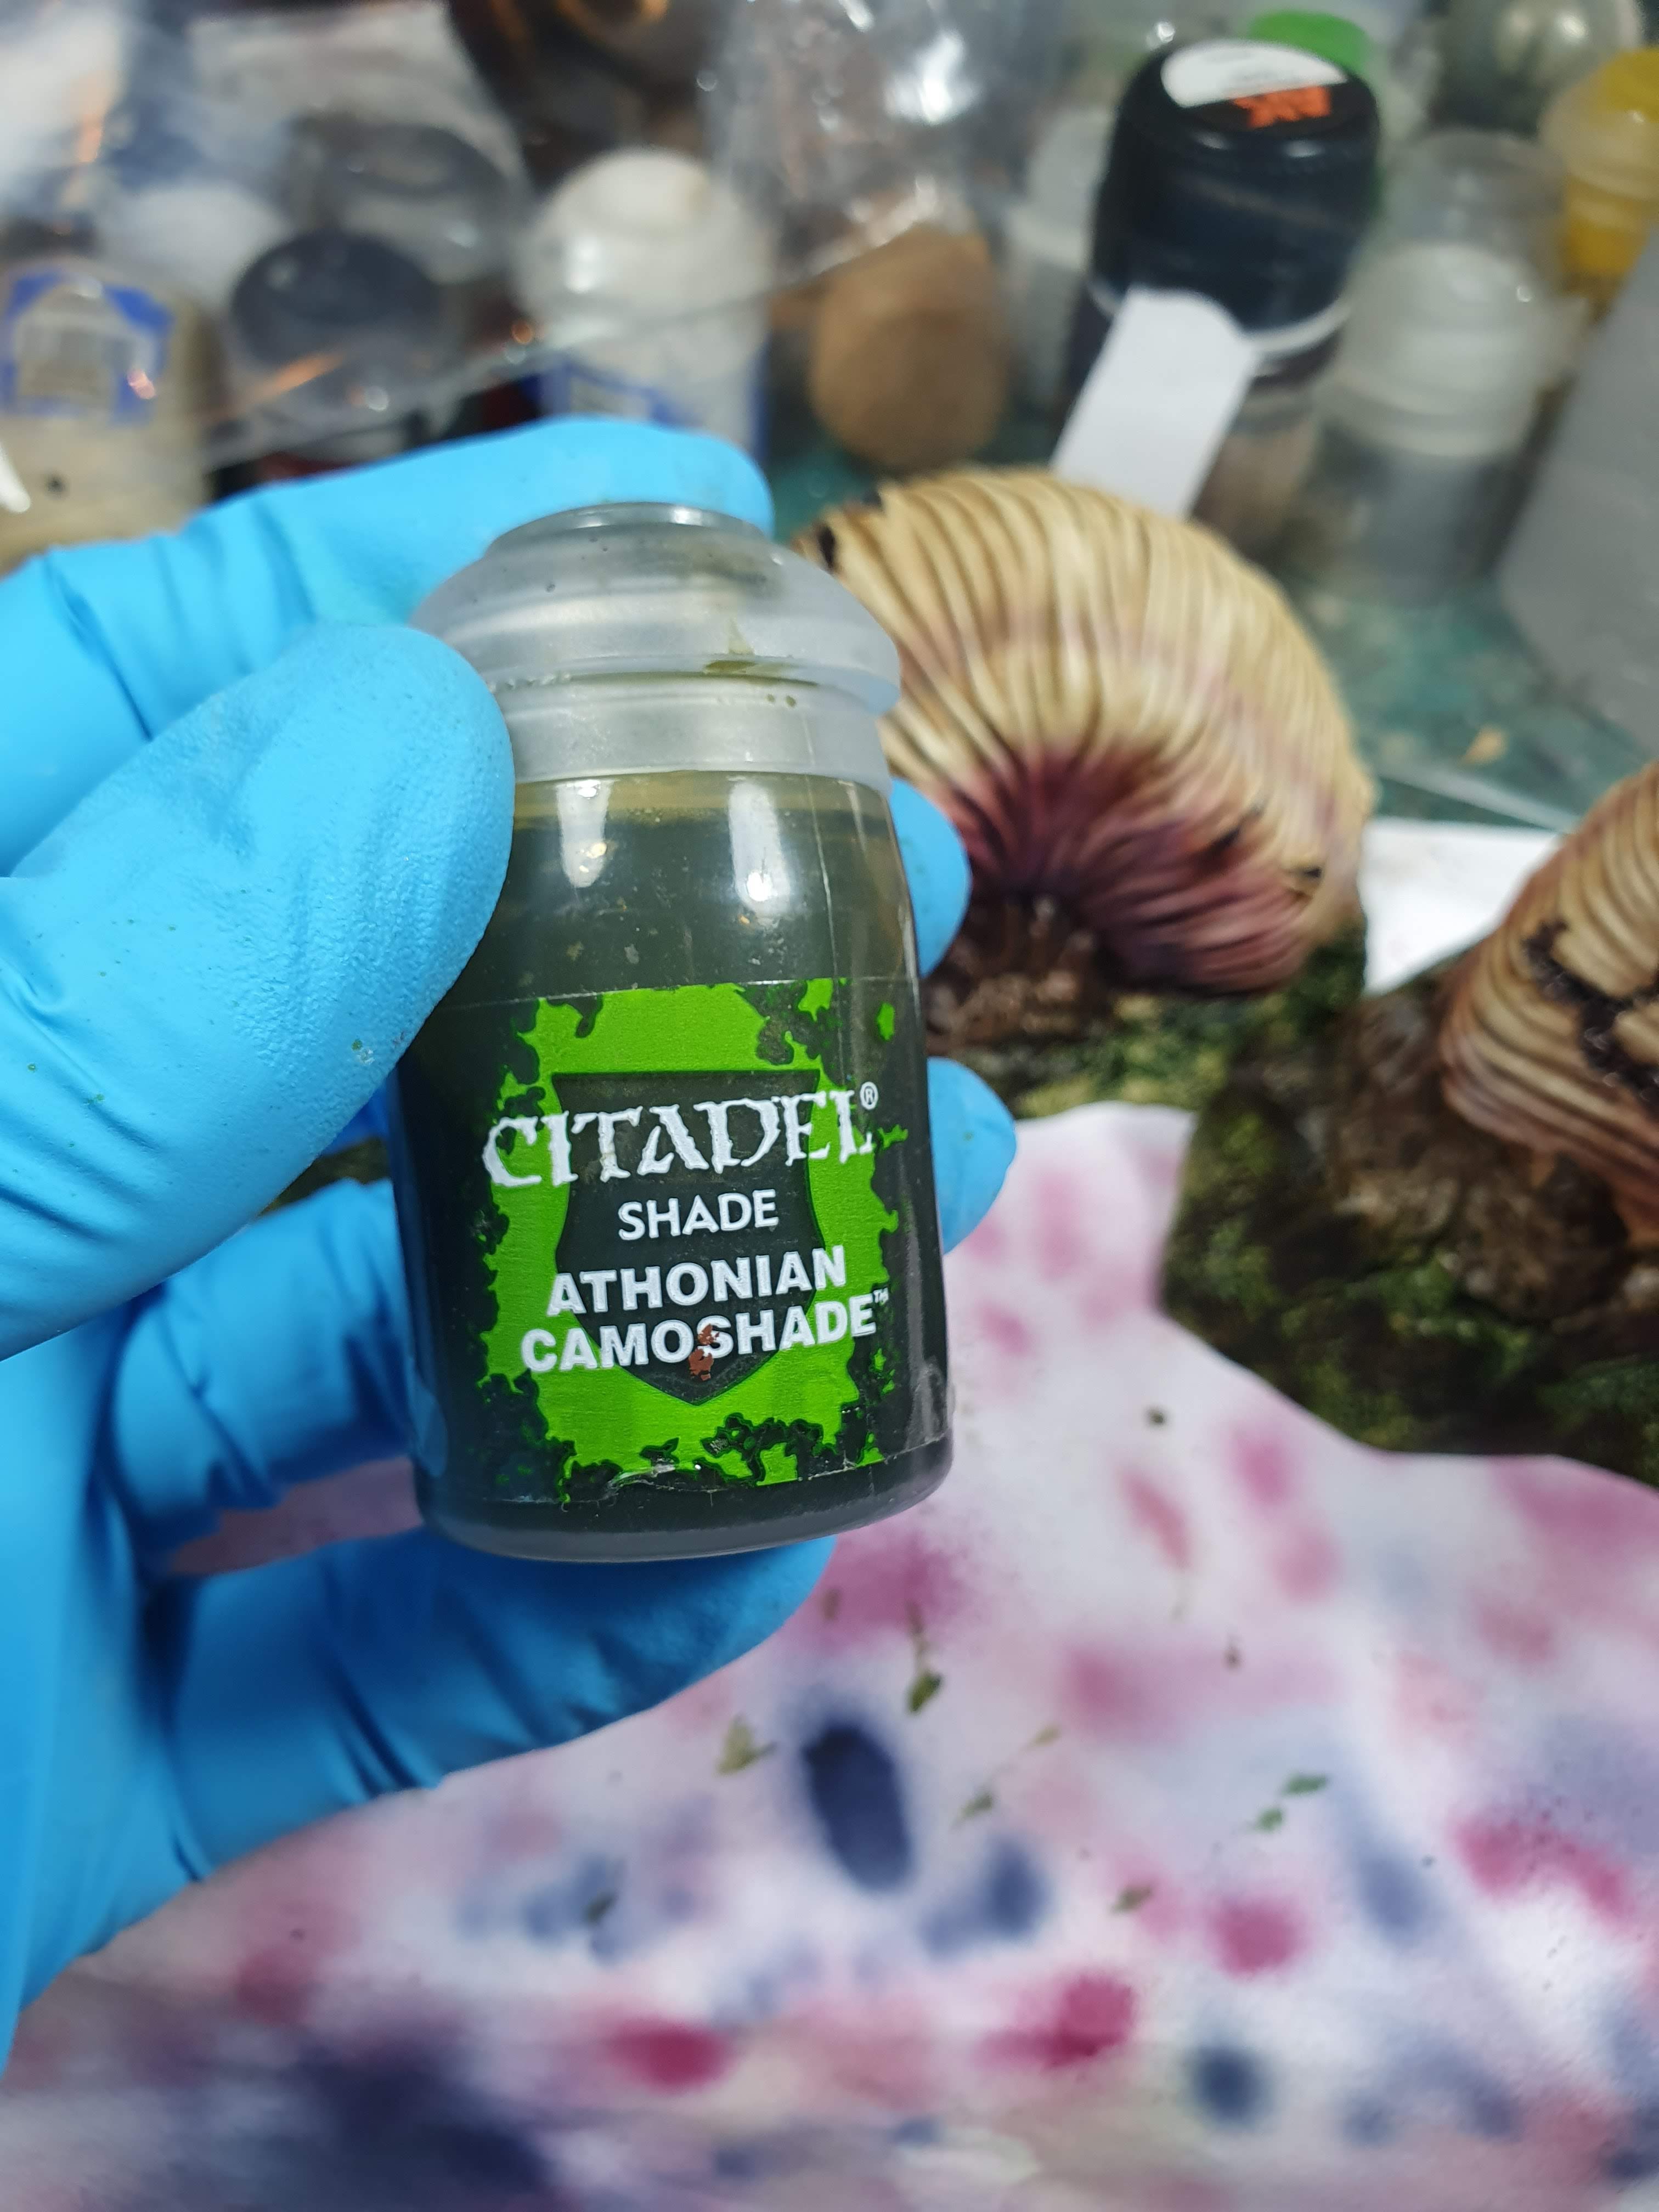
After a unifying coat of Athonian Camoshade, I drybrushed the broken ground with Rakarth Flesh, just to draw out some of the details of the dirt.


And that's it! As you can see I am trying to use the airbrush more and more to speed up my workflow, but also just to learn new techniques. Many pros say that anything you do with an airbrush, you can do with a hairy brush, but I don't know if I would have been able to make the colour transitions for the dorsal vessels as smooth with a hairy brush - at the very least it would have taken much longer!
Happy birthday again to The Art of Caesura - a worthy birthday present.
See you next Friday on The Art of Caesura!
Reading: The Psychology of Money - Morgan Housel
Watching: The Rig - Amazon Prime
Next Week:
Writhing in darkness...
Excellent work! Glad to see the airbrush is working well for you.
ReplyDeleteThanks so much Ryan! And thanks again for giving me the impetus to launch into it!
Delete